dev_cdc_vcom
Overview
The Virtual COM project is a simple demonstration program based on the MCUXpresso SDK.
It is enumerated as a COM port, which the users can open using terminal tools, such as TeraTerm.
The demo echoes back any character it receives. The purpose of this demo is to show how to build a device of USB CDC class and to
provide a simple project for further development.
System Requirement
Hardware requirements
Mini/micro USB cable
USB A to micro AB cable
Hardware (Tower module/base board, and so on) for a specific device
Personal Computer
Software requirements
The project files are in:
<MCUXpresso_SDK_Install>/boards//usb_examples/usb_device_cdc_vcom/ / .
For lite version, the project files are in:
<MCUXpresso_SDK_Install>/boards//usb_examples/usb_device_cdc_vcom_lite/ / .
The
is Bare Metal or FreeRTOS OS.
Getting Started
Hardware Settings
Set the hardware jumpers (Tower system/base module) to default settings.
Prepare the example
Download the program to the target board.
Connect the target board to the external power source (the example is self-powered).
Either press the reset button on your board or launch the debugger in your IDE to begin running the demo.
Connect a USB cable between the PC host and the USB device port on the board.
For detailed instructions, see the appropriate board User’s Guide.
Run the example in Windows
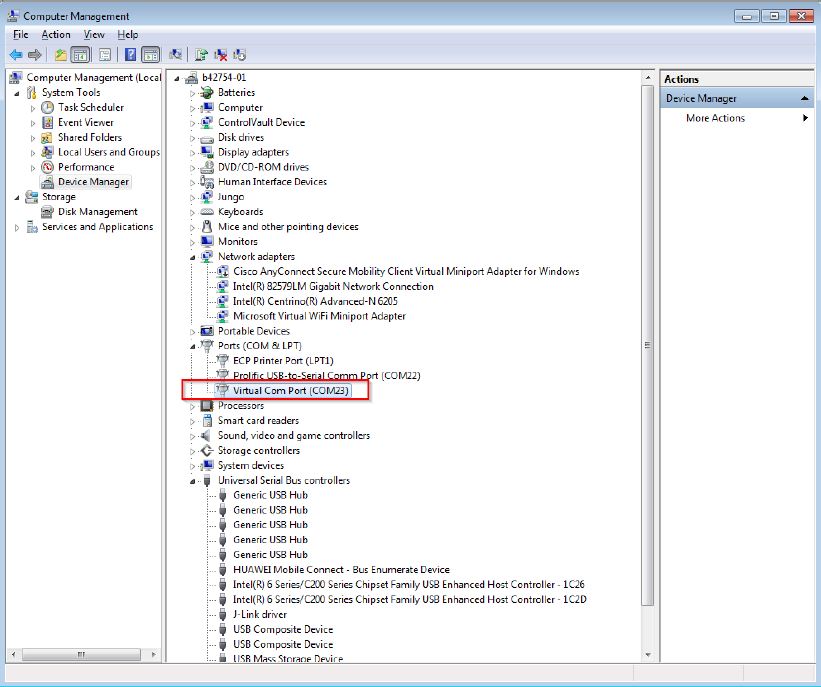
A COM port is enumerated in the Device Manager. If it prompts for CDC driver installation, see the next section to install the CDC driver.
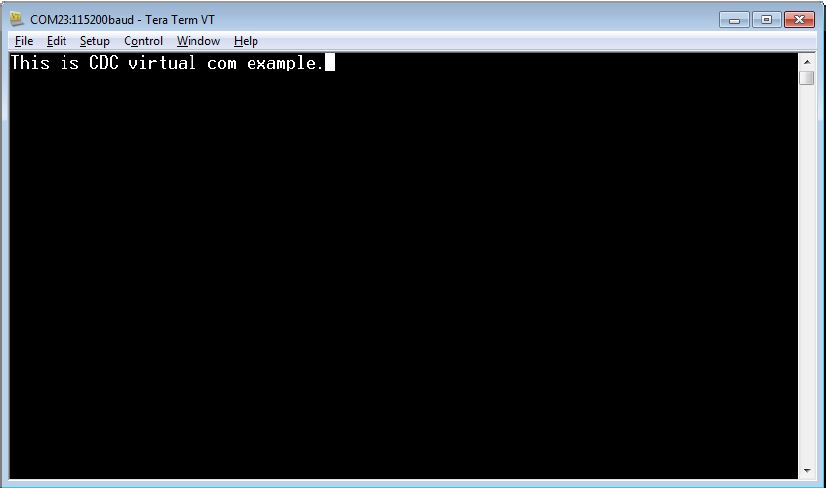
Open the COM port in a terminal tool, such as Tera Term.
Type characters. The characters are echoed back from the COM port.
 Note
Note
Because there is no dynamic detection between the host and the device, the COM port must be closed from the terminal tool prior to unplugging the CDC device. Otherwise, the CDC device won’t get recognized next time when plugging in with the COM port still opened.
If no HW FLOW CONTROL is needed, let the variable s_cdcVcom.startTransactions always be TRUE.
If the terminal shows ‘serial port number failure’, check the ‘DTR’ item in terminal configuration window or set the variable s_cdcVcom.startTransactions always be true in code.
Run the example in Linux/Android
Ubuntu X86 Linux PC
Steps:
Connect CDC device to the PC.
In the terminal window, run\n
# ls /dev/tty*\n Then ‘/dev/ttyACM0’ is found.In the terminal window, run \n
# minicom -s\nTo configure the ttyACM0 as the default console and other configurations, run \n
# minicom\n The ttyACM0 can be opened successfully and user can input characters by using the minicom.
i.MX 6DQ board with Yocto rootfs
Steps:
Enable the ACM feature and rebuild the kernel.\n
| Symbol: USB_ACM [=y] |\n| Type : tristate |\n| Prompt: USB Modem (CDC ACM) support |\n| Location: |\n| -> Device Drivers |\n| -> USB support (USB_SUPPORT [=y]) |\n| (1) -> Support for Host-side USB (USB [=y])Bring up i.MX board with the rebuilt kernel.
Plug in the CDC device to the i.MX board.
In the i.MX board.\n
# ls /dev/tty*\n The /dev/ttyACM0 is found.In the i.MX board, a pipe is used to read and write to ttyACM0 because the minicom is not available for yactor rootfs.\n
# cat /dev/ttyACM0 >> read1 &\n# echo "Hello World" > /dev/ttyACM0\n# fg\n Ctrl+c to interrupt the progress\n# vi read1\n Result: “Hello world” is in read1.
Keep alive feature
For SOCs which support the keep alive feature, this example can also be used to demonstrate such feature.
The following steps show how to run it on Windows OS.
Check the FSL_FEATURE_USB_KHCI_KEEP_ALIVE_ENABLED macro in
_feature.h to see if the SOC support the keep alive feature. Define USB_DEVICE_CONFIG_KEEP_ALIVE_MODE to 1 in usb_device_config.h.
Build the example and run.
Open the Debug UART port and Virtual Com port.
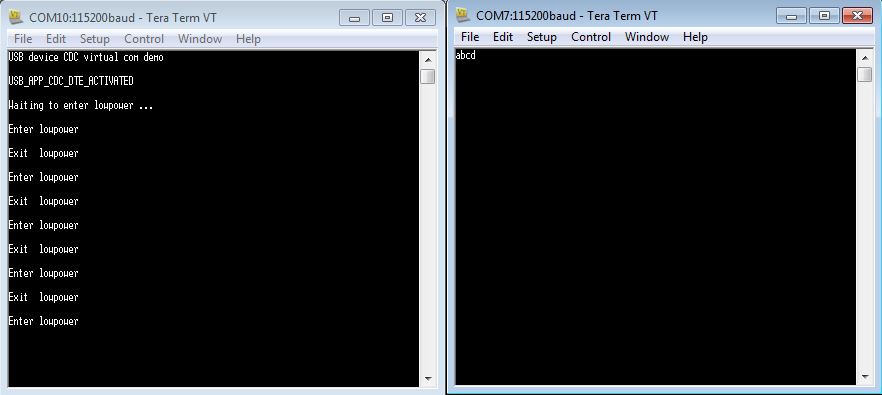
Wait for a while to ensure that the device has entered into low power mode.
Type some characters in the Virtual Com port to exit from the low power mode.
Below is the run-time picture of the keep alive example.
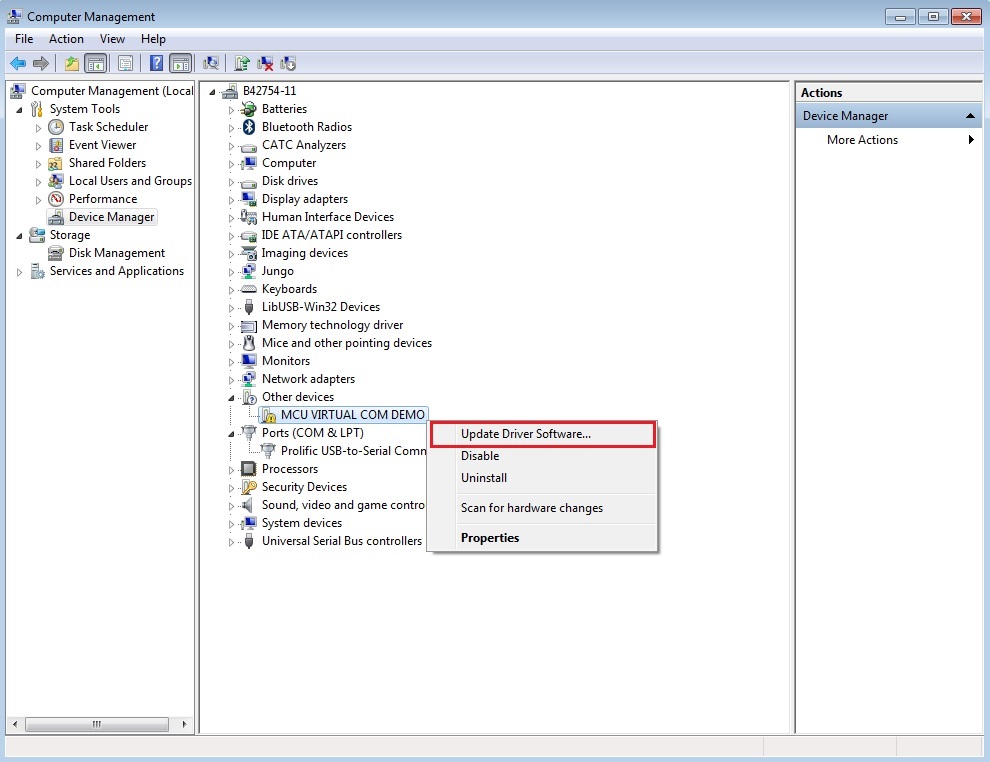
Installing the CDC driver for virtual_com and msd_cdc composite example
Below are the steps to install the CDC driver on Windows 7. Similar steps apply for Windows XP.
Step 1. Click “Update Driver Software…”
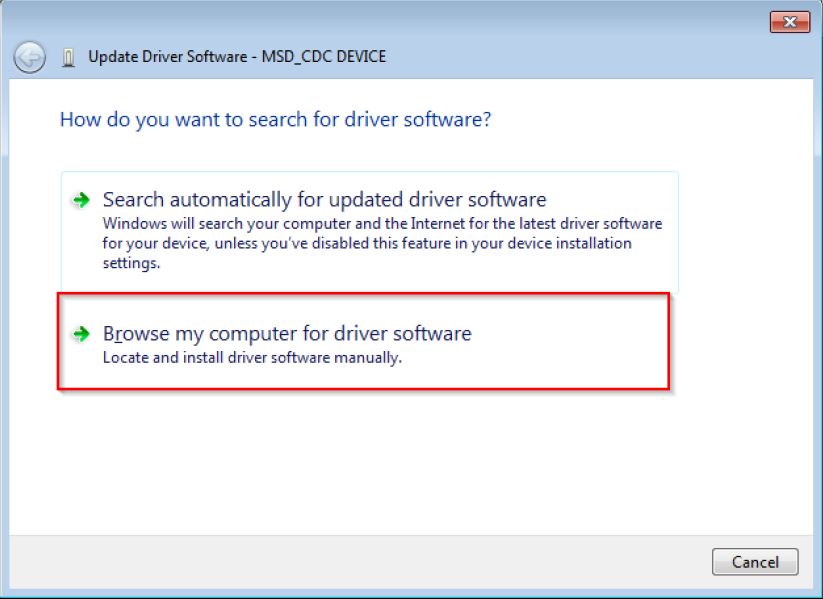
Step 2. Choose “Browse…”
Step 3. Select “Let me pick…”
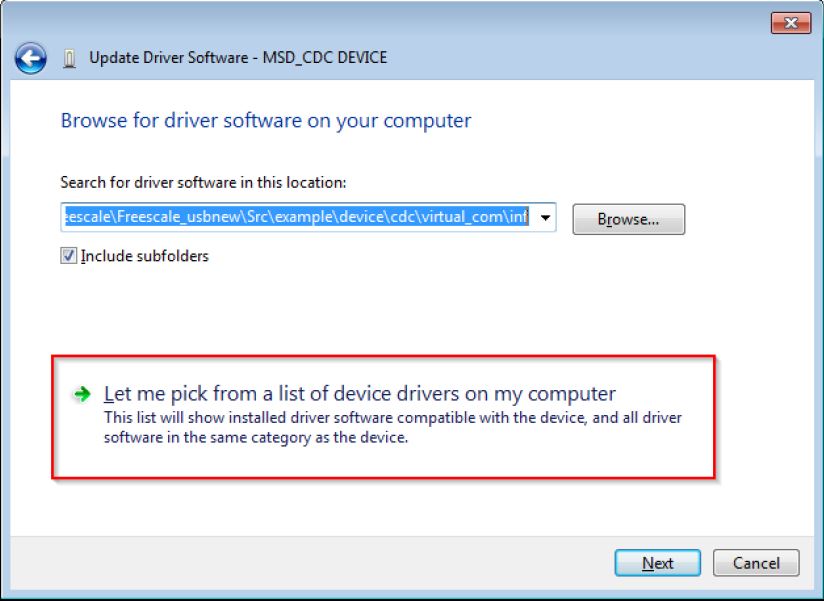
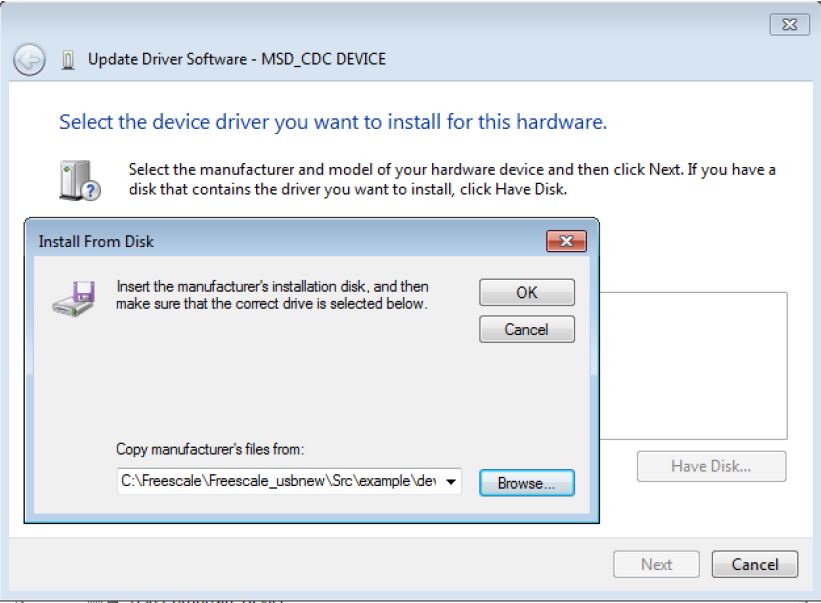
Step 4. Navigate to your CDC driver location.
<install_dir>\boards\
or
<install_dir>\boards\
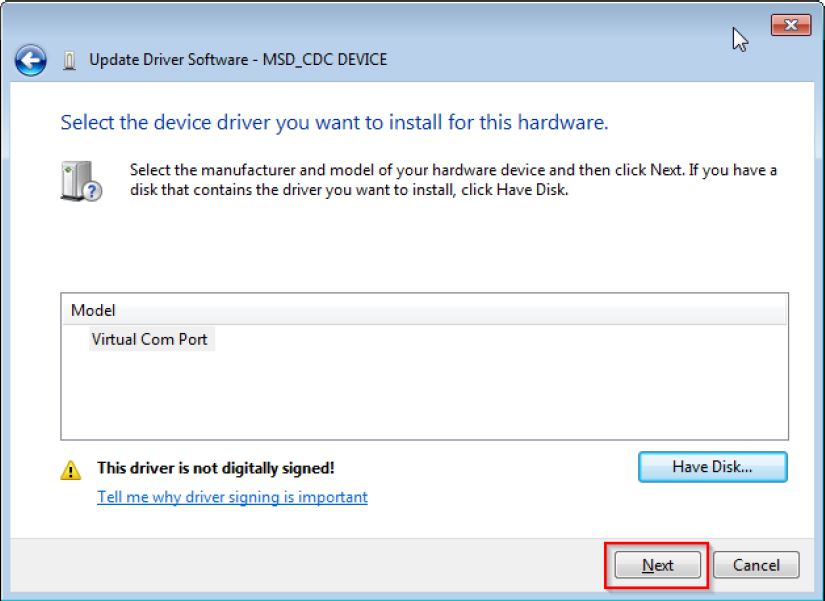
Step 5. Press “Next”.
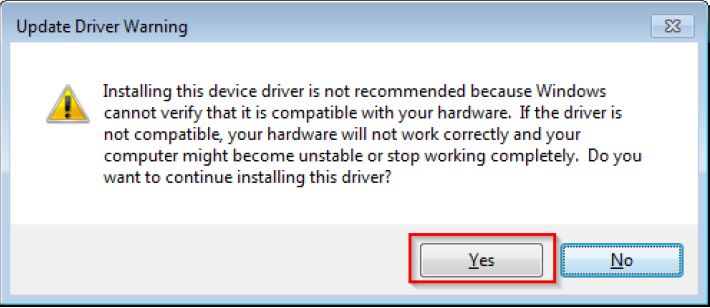
Step 6. Ignore the warning and press “Yes”.
Step 7. Now the CDC driver should be installed successfully.
If a driver signature issue occurs on Windows 8 OS, see the link,\n Disabling Driver Signature on Windows 8
To enable driver signing on Windows OS, see the link,
USB_DEVICE_CONFIG_CDC_CIC_EP_DISABLE macro is used to disable the interrupt endpoint of communication interface class, this macro is 0 by default. If you want to disable the interrupt endpoint, please change the USB_DEVICE_CONFIG_CDC_CIC_EP_DISABLE macro as 1.
*/
Supported Boards
MIMXRT1170-EVKB
FRDM-K22F
LPCXpresso55S69
EVK-MIMXRT1064
FRDM-MCXA153
MIMXRT685-AUD-EVK
FRDM-MCXA276
LPCXpresso51U68
LPCXpresso54S018
LPCXpresso54S018M
MIMXRT1060-EVKB
EVK-MIMXRT1010
MIMXRT1040-EVK
FRDM-MCXN947
MIMXRT1024-EVK
LPCXpresso55S28
LPCXpresso54628
LPCXpresso55S36
MCX-N5XX-EVK
MIMXRT1060-EVKC
MIMXRT1160-EVK
MIMXRT1180-EVK
EVK-MIMXRT1020
MIMXRT700-EVK
FRDM-MCXA156
EVK-MIMXRT595
EVK-MIMXRT685
MCX-N9XX-EVK
EVKB-IMXRT1050
RD-RW612-BGA
FRDM-K32L3A6
EVK-MIMXRT1015
FRDM-MCXN236
FRDM-RW612