Generate SSC for digital IO
Due to the license issue, the MCUXpresso SDK does not include the EtherCAT SSC. The SSC Tool must generate the subdevice stack code first. This section lists the steps to download the SSC tool and generate the subdevice stack code for the digital IO example via the SSC tool.
Note: You must have a Beckhoff account to download the EtherCAT SSC tool.
Download and install the SSC tool.
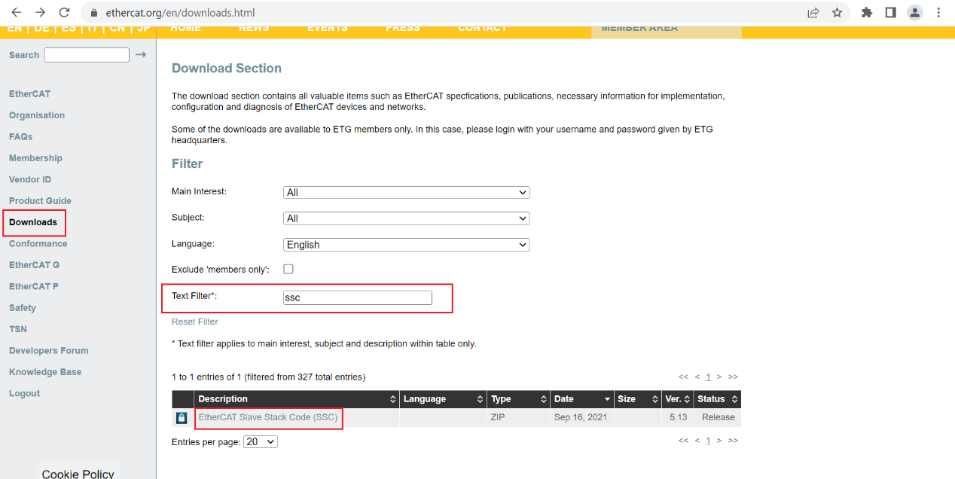
Click the link https://www.ethercat.org/en/downloads.html.
Type SSC in the Text Filter field.
Select the EtherCAT SSC link under the Description column. See, Figure 1.
Note: To proceed with the download, you must provide your account credentials, if you are not already logged in.
Install the downloaded SSC tool.
Launch the SSC tool.
Import the configuration file for the digital IO example.
Select Tool > Options.
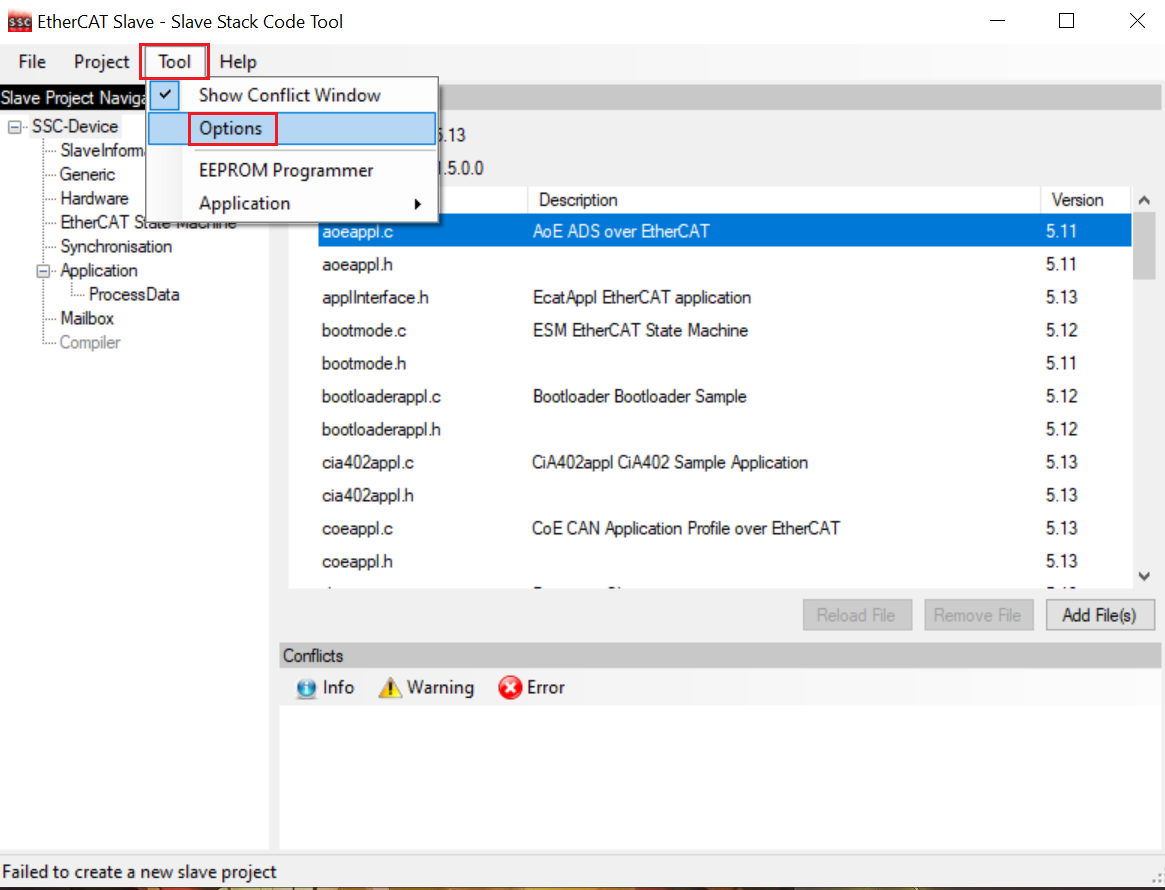
The Subdevice Stack Code Tool | Options window appears.
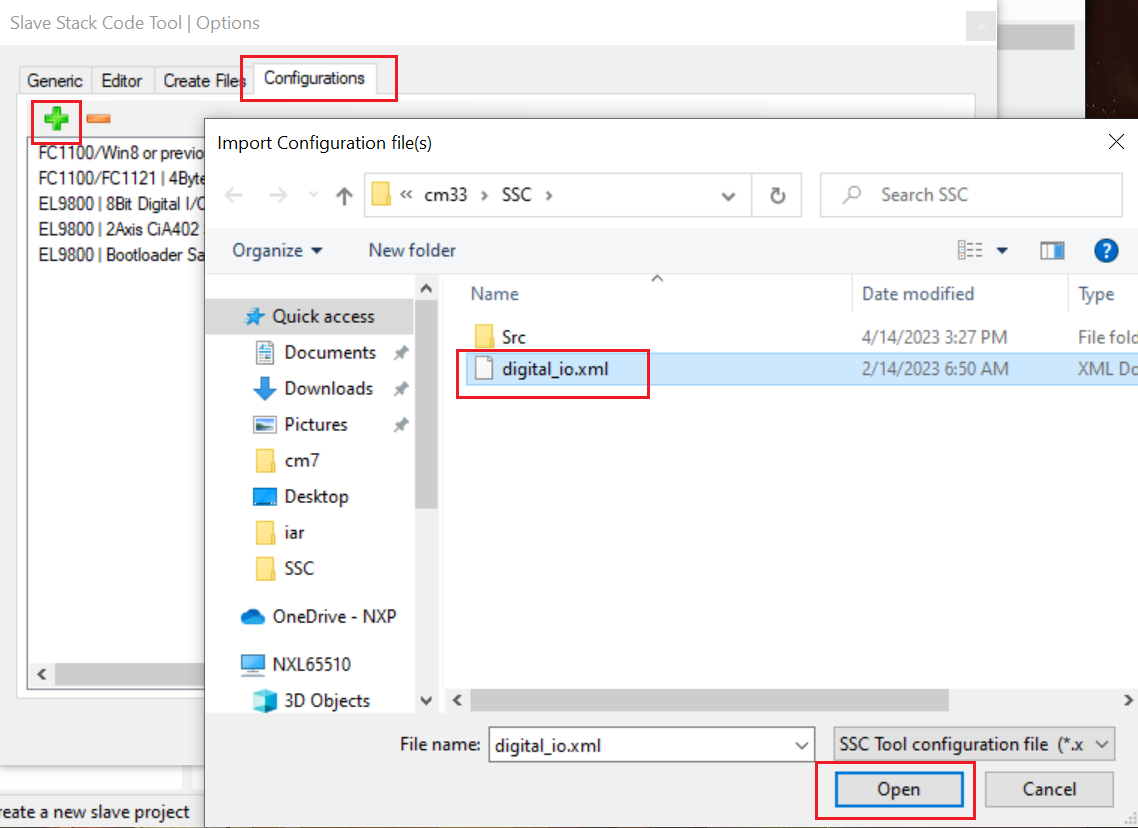
Click the Configurations tab.
To open the Import Configuration file(s) dialog box, click the + icon.
Navigate to the \boards\evkmimxrt1180\ecat_examples\digital_io\<core>\SSC folder.
Select the digital_io.xml file.
Click the Open button. See, Figure 3.
The configuration is imported.
Create a new project with the imported configuration.
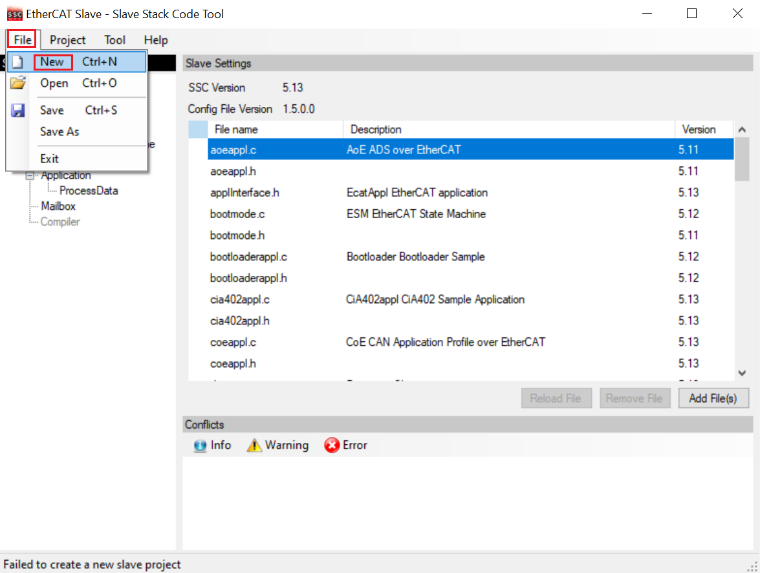
Select File > New.
The New Project dialog box appears.
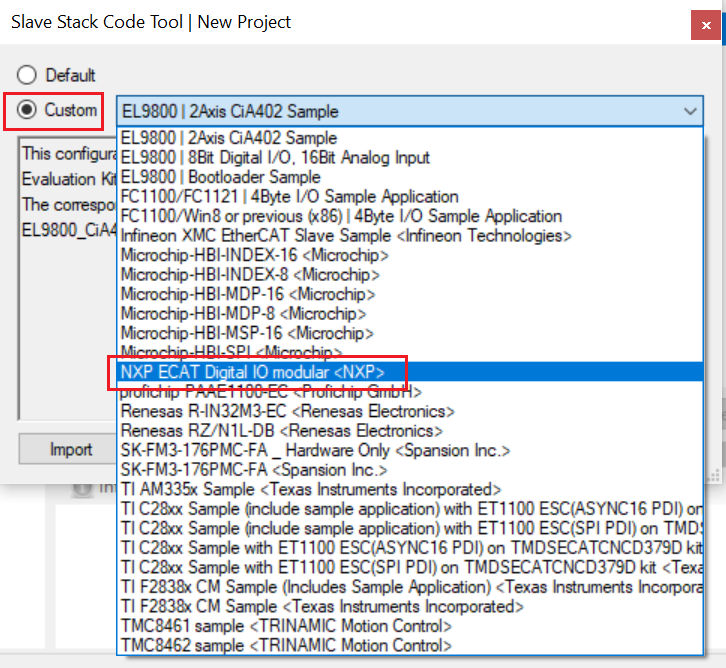
Select the Custom option.
Select NXP ECAT Digital IO modular <NXP> from the drop-down list.
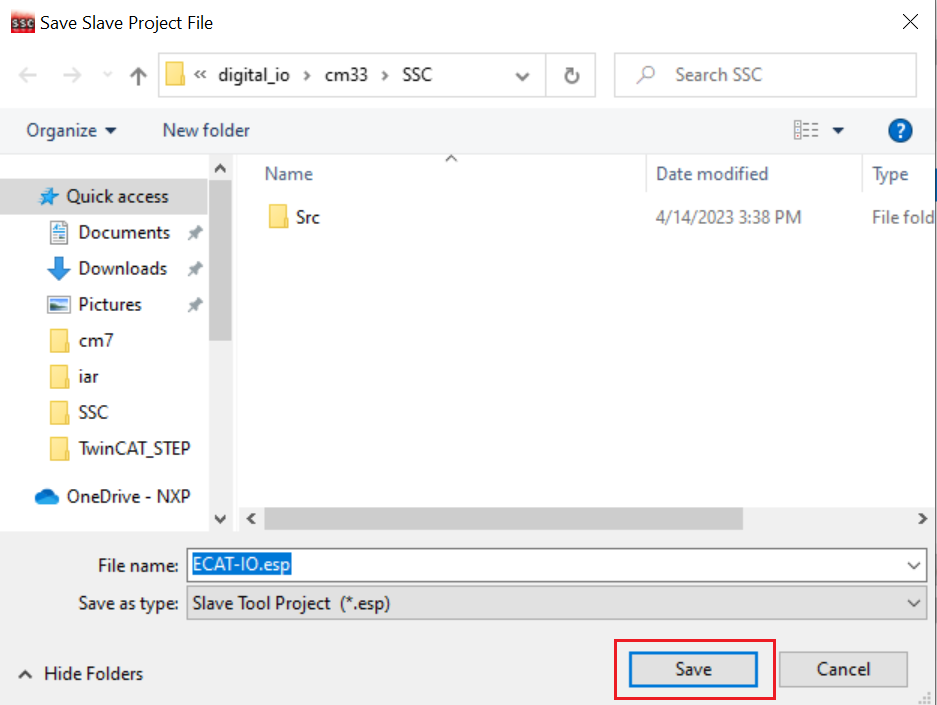
Save this new project as ECAT-IO.esp to any folder.
Select File > Save.
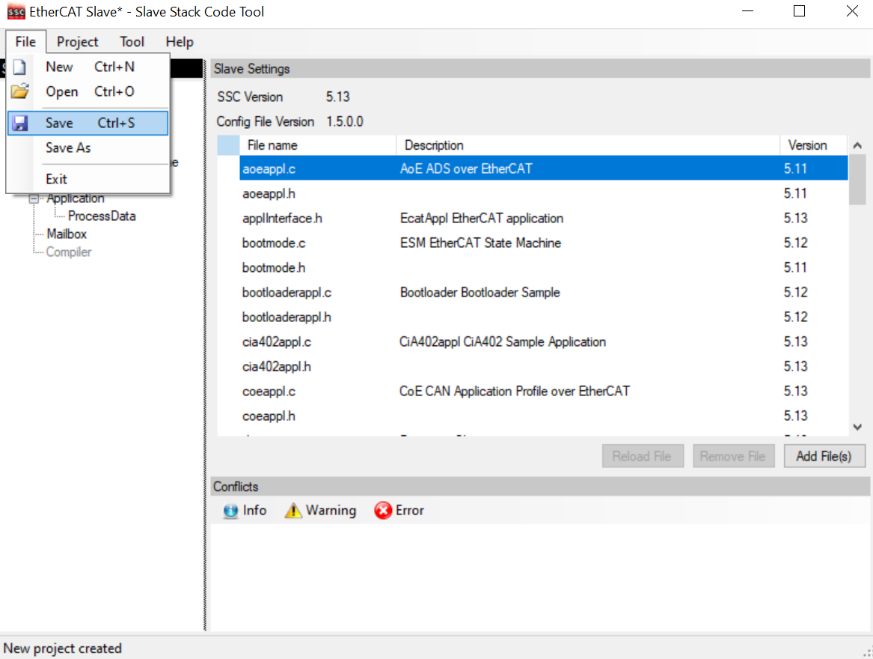
Save the file with an appropriate name. For example, ECAT-IO.esp.
Create the digital IO example application via importing the digital_io.xlsx file.
Select Tool > Application > Import.
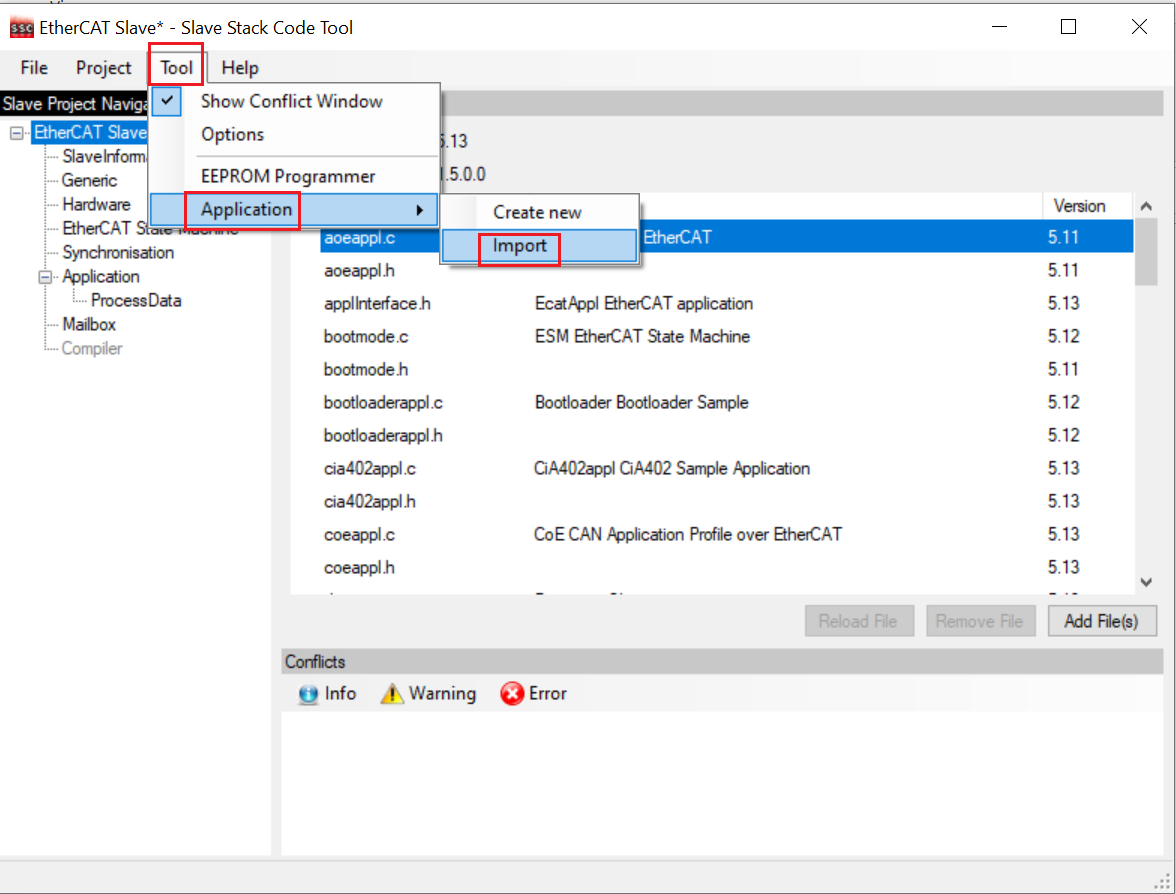
The File selection dialog box appears.
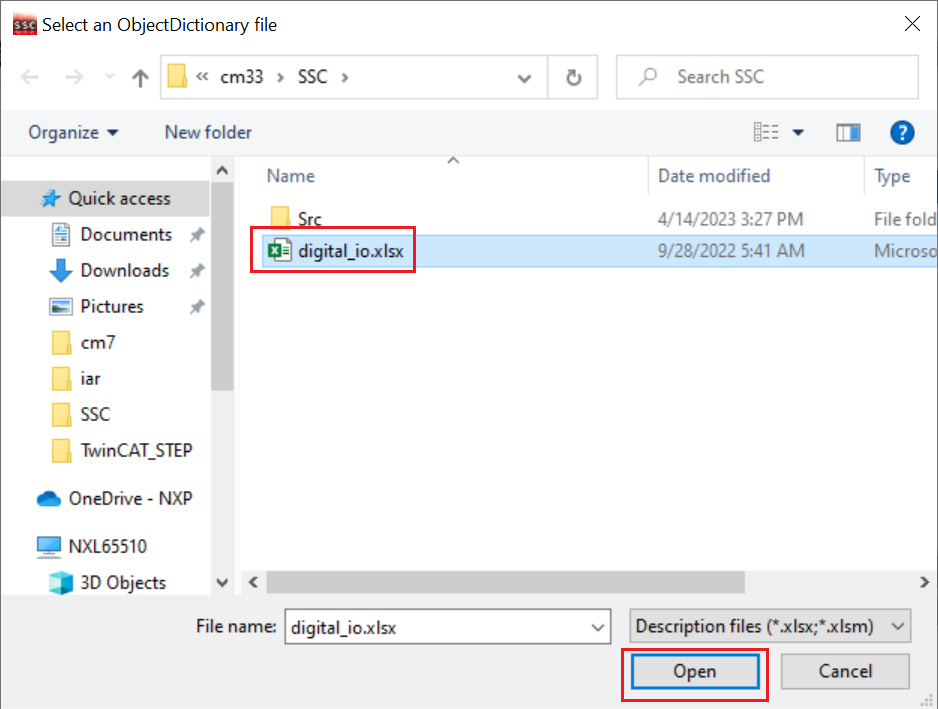
Navigate to the \boards\evkmimxrt1180\ecat_examples\digital_io\<core>\SSC folder.
Select the digital_io.xlsx file.
Click the Open button.
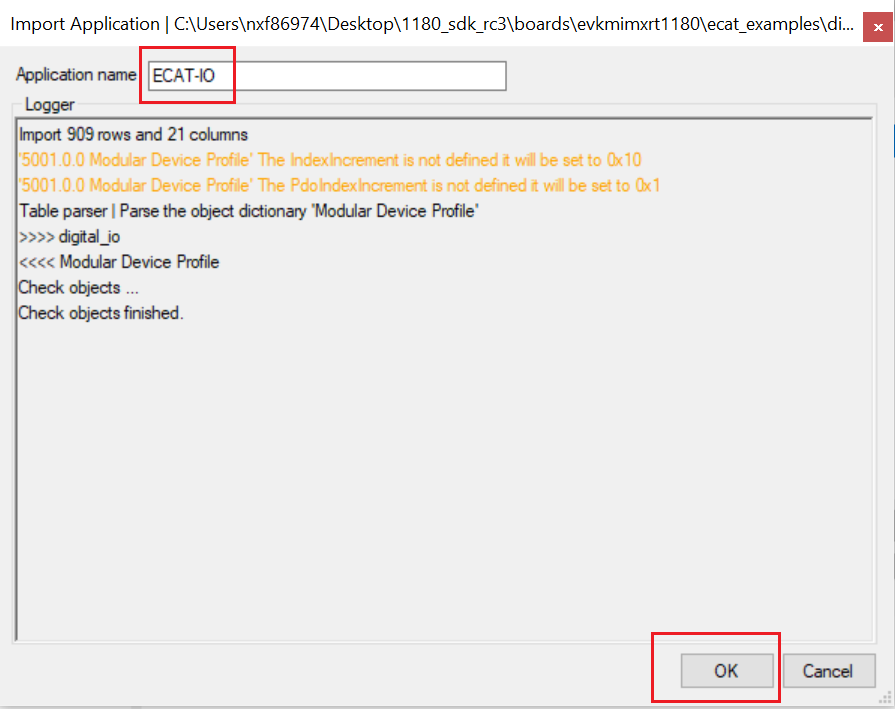
The filename appears in the Application name field.
Click OK.
Create the subdevice stack code for the digital IO example.
Click Project > Create new subdevice Files.
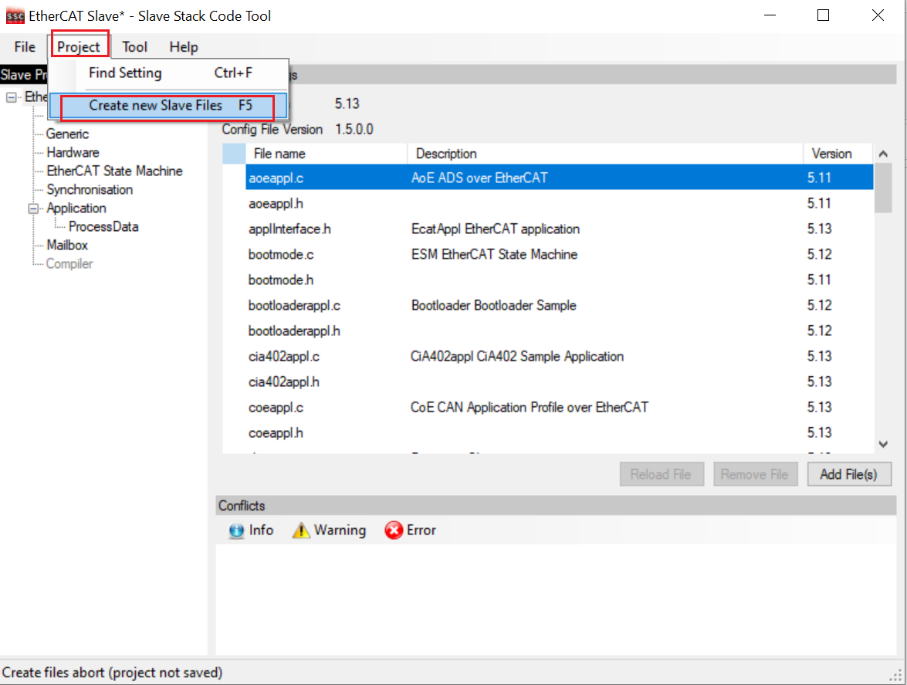
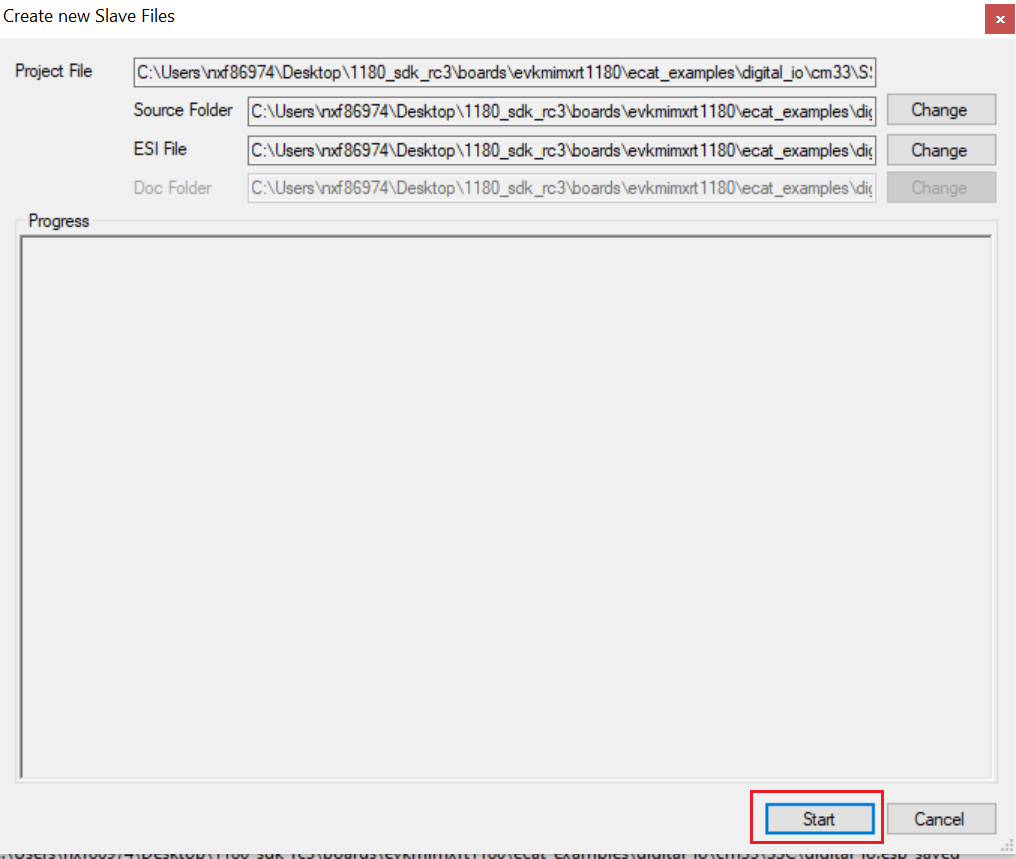
The Create new subdevice Files dialog box appears.
To create the code, select Start.
By default, the code is located in the Src subfolder under the folder where the project is saved.
Copy the Src subfolder to boards\evkmimxrt1180\ecat_examples\digital_io\<core>\SSC\Src under the SDK source code.
Delete thedigital_io.c file under Src folder because this file is already provided in the root directory of digital_io example.