Creating a New ZPS Configuration
Step 1: In MCUXpresso, start the ZPS Configuration Editor wizard. To do this, follow the menu path File > New > Other and in the Select a Wizard dialogue box, select “Jennic ZBPro Configuration” and click Next(shown in Figure 13 on page 283).
The New dialogue box opens for the ZBPro Configuration.
New ZPS Configuration
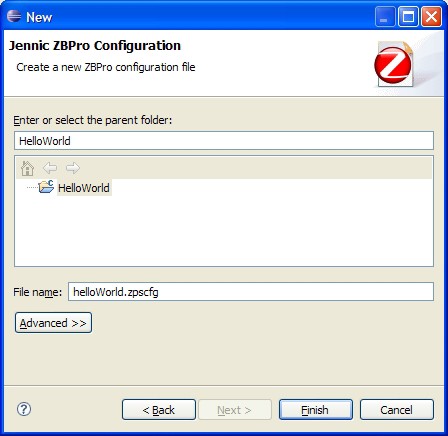
Step 2: Click on your project to select it as the parent folder. In the File namefield, enter a name for the configuration file (keep the extension .zpscfg) and then click Finish.
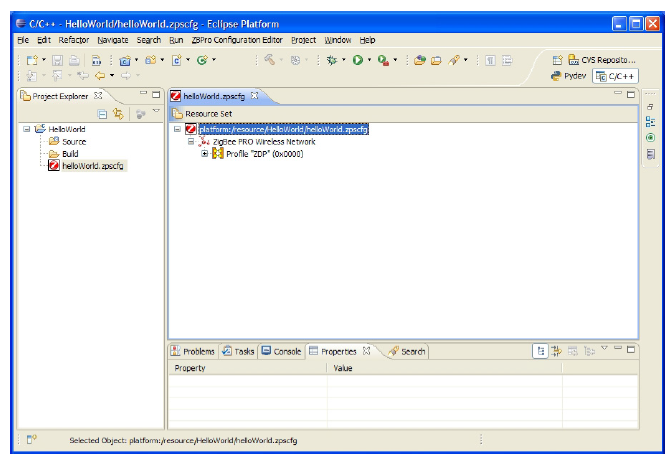
A new configuration (with the default set of parameters) will open in the editor, as shown below.
ZPS Configuration Editor Window
Parent topic:Using the ZPS Configuration Editor