Run an example application
To download and run the application, perform these steps:
This board supports the
CMSIS-DAP/mbed/DAPLinkdebug probe by default. Visit os.mbed.com/handbook/Windows-serial-configuration and follow the instructions to install the Windows operating system serial driver. If running on Linux OS, this step is not required.Connect the development platform to your PC via USB cable.
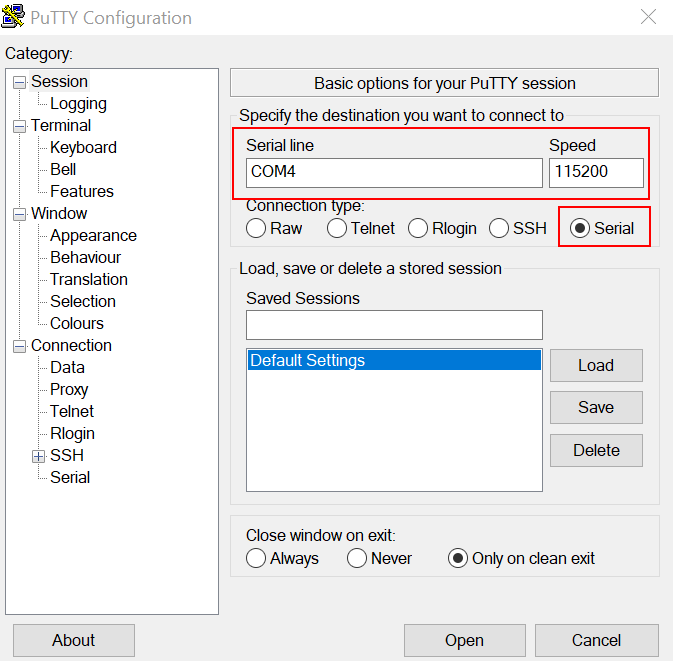
Open the terminal application on the PC, such as PuTTY or TeraTerm, and connect to the debug serial port number (to determine the COM port number, see How to determine COM port). Configure the terminal with these settings:
115200 or 9600 baud rate, depending on your board (reference
BOARD_DEBUG_UART_BAUDRATEvariable in theboard.hfile)No parity
8 data bits
1 stop bit |
|
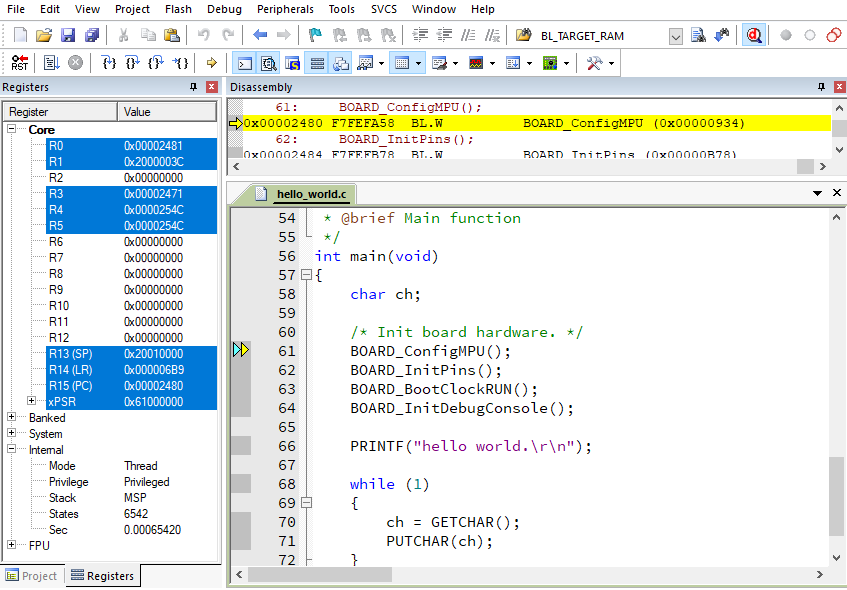
To debug the application, click load (or press the F8 key). Then, click the Start/Stop Debug Session button, highlighted in red in Figure 2. If using J-Link as the debugger, click Project option > Debug > Settings > Debug > Port, and select SW.
Note: When debugging with jlink, it expects one jlinkscript file named JLinkSettings.JLinkScript in the folder where the uVision project files are located. For details, see Segger Wiki. For the contents in this JlinkSettings.JLinkScript, use contents in evkbmimxrt1060_sdram_init.jlinkscript.
|
|
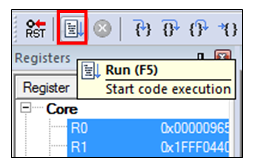
Run the code by clicking Run to start the application, as shown in Figure 3.
|
|
The `hello_world` application is now running and a banner is displayed on the terminal, as shown in [Figure 4](run_an_example_application_003.md#S127DD02). If this is not true, check your terminal settings and connections.
|
|
Parent topic:Run a demo using Keil MDK/μVision