Running an application by U-Boot
This section describes the steps to write a bootable SDK bin file to TCM, DRAM and QSPI/XIP with the prebuilt U-Boot image for the i.MX processor. The following steps describe how to use the U-Boot:
Connect the DEBUG UART slot on the board to your PC through the USB cable. The Windows OS installs the USB driver automatically, and the Ubuntu OS finds the serial devices as well.
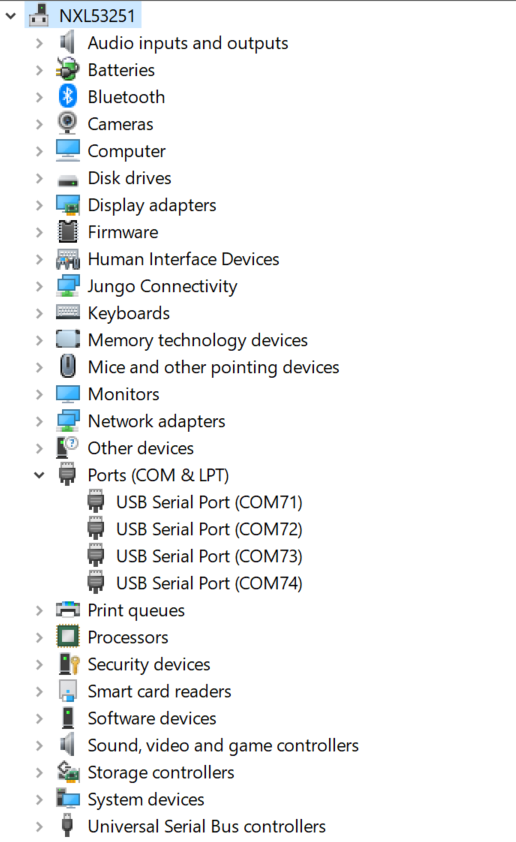
On Windows OS, open the device manager, find USB serial Port in Ports (COM & LPT). Assume that the ports are COM71 - COM74. COM73 is for the debug message from the Cortex-A53 and COM74 is for the Cortex-M7. The port number is allocated randomly, so opening both is beneficial for development. On Ubuntu OS, find the TTY device with name
/dev/ttyUSB*to determine your debug port. Similar to Windows OS, opening both is beneficial for development.|
|
Build the application (for example,
hello_world) to get the bin file (hello_world.bin).Prepare an SD card with the prebuilt U-Boot image and copy bin file (
hello_world.bin) into the SD card. Then, insert the SD card to the target board. Make sure to use the default boot SD slot and check the dipswitch configuration.Open your preferred serial terminals for the serial devices, setting the speed to 115200 bps, 8 data bits, 1 stop bit (115200, 8N1), no parity, then power on the board.
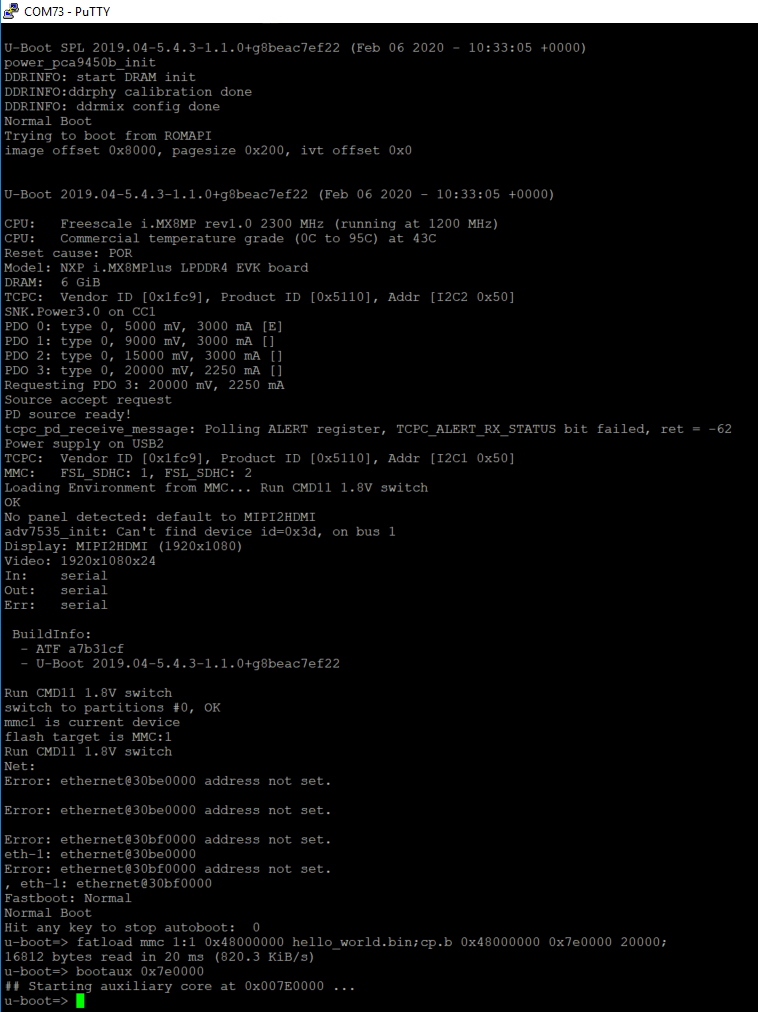
Power on the board and hit any key to stop autoboot in the terminals, then enter to U-Boot command line mode. You can then write the image and run it from TCM, DRAM and QSPI/XIP with the following commands:
If the
hello_world.binis made from the debug/release target, which means the binary file will run at TCM, use the following commands to boot:fatload mmc 1:1 0x48000000 hello_world.bin;cp.b 0x48000000 0x7e0000 20000;bootaux 0x7e0000
If the
hello_world.binis made from theddr_debug/ddr_releasetarget, which means the binary file runs at DRAM, use the following commands:fatload mmc 1:1 0x80000000 hello_world.bindcache flushbootaux 0x80000000
If the
hello_world.binis made from theflash_debug/flash_releasetarget, which means the binary file runs at QSPI/XIP, use the following commands:sf probesf read 0x80000000 0 4fatload mmc 1:1 0x48000000 flash.bindcache flushsf erase 0 0x100000sf write 0x48000000 0 0x100000bootaux 0x8000000Note: If the Linux OS kernel runs together with M7, make sure the correctdtbfile is used. Thisdtbfile reserves resources used by M7 and avoids the Linux kernel from configuring them. Use the following command in U-Boot before running the kernel:
setenv fdtfile ‘imx8mp-evk-rpmsg.dtb’
Note: For the SCH RevB4 board, use
imx8mp-evk-revb4-rpmsg.dtbfor multicore examples.Note: For Linux release version L5.15.71-2.2.0 and later, the
run prepare_mcorecommand must run before thebootauxcommand.|
|
|
|
|
|
Open another terminal application on the PC, such as PuTTY and connect to the debug COM port (to determine the COM port number, see How to determine COM port). Configure the terminal with these settings:
115200
No parity
8 data bits
1 stop bit
The
hello_worldapplication is now running and a banner is displayed on the terminal. If this is not true, check your terminal settings and connections.|

|