Build and run SDK example on codewarrior
Install CodeWarrior
Take below codewarrior specific combination as example
CodeWarrior Development Studio v11.2 + CodeWarrior for DSC v11.2 SP1 (Service Pack 1)
Steps to install codewarrior
Download CodeWarrior for DSC v11.2, and ServicePack1 for DSC devices from CodeWarrior for 56800 Digital Signal Controller v11.2.
Install CodeWarrior for DSC v11.2
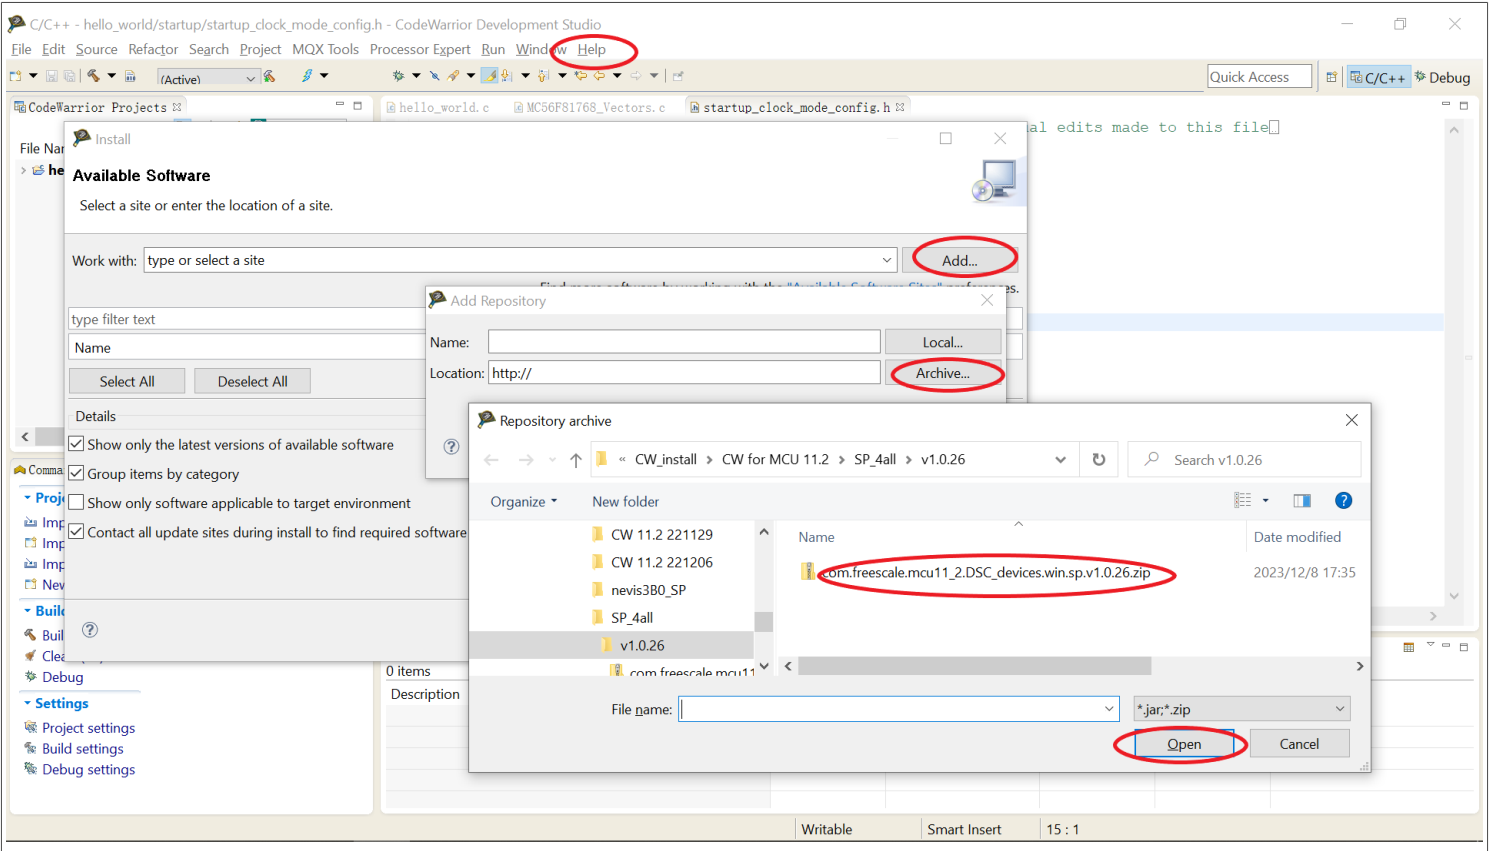
Install ServicePack1 within CodeWarrior from the menu. Click the Help menu -> select Install new software -> Add -> Archive -> select the downloaded SP1 -> open -> check MCU v11.2 DSC Service Packs -> click Next.
NOTE
Codewarrior for DSC only support windows.
Please check board release note for specific requirement of codewarrior and service pack version.
Build an example application
To build the hello_world example application, perform the following example steps:
Launch CodeWarrior and in the workspace launcher, choose a workspace which holds the projects to use. If the dialogue box does not pop up, enter a workspace folder and create one workspace.
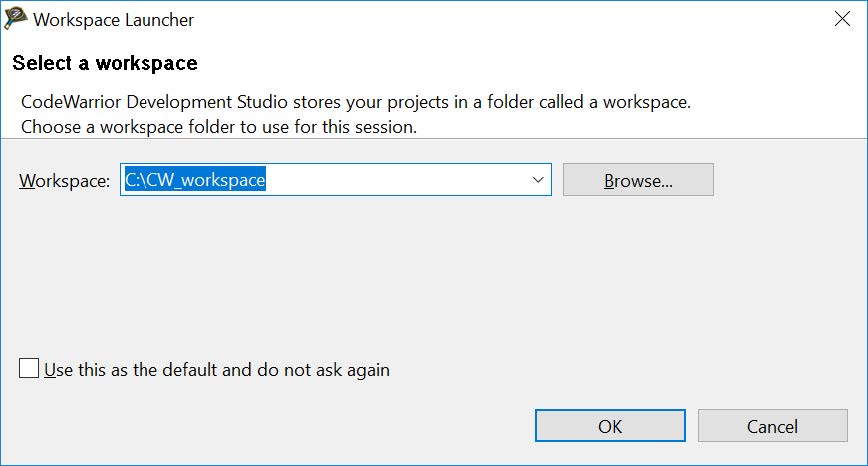
Then the CodeWarrior Development Studio workspace with empty projects appears.

Import the project into the workspace. Click Import project in the Commander pane. A form pops up. Click Browse to the SDK install directory. Take TWR-MC56F8400 SDK as an example, all available demo projects are shown. Select the
hello_worldproject in the list and click Finish.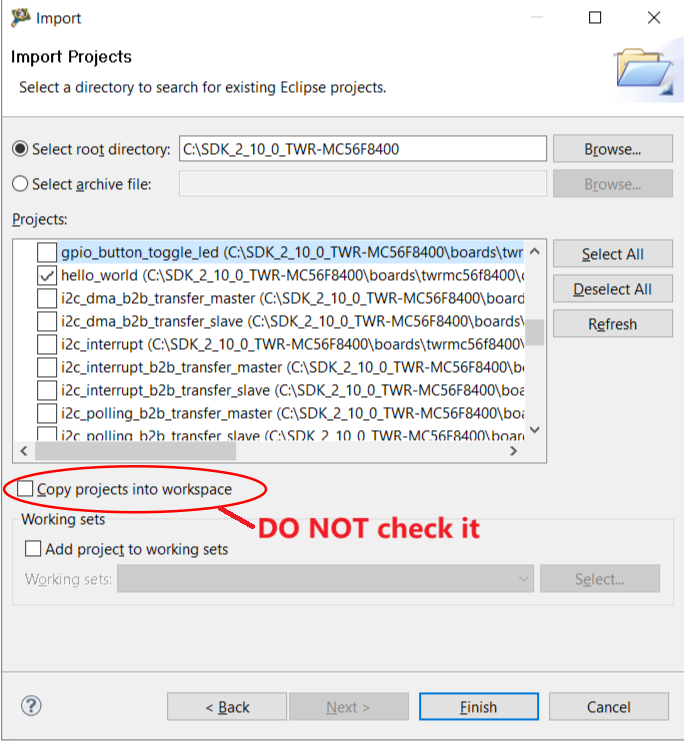
NOTE
If you already know the project location, navigate to the folder when clicking Browse, and only one project can be seen. To locate most example application workspace files, use the following path
<install_dir>/boards/<board_name>/<example_type>/<application_name>/codewarrior
Take TWR-MC56F8400 SDK as an example, the
hello_worldworkspace is located in<install_dir>/boards/twrmc56f8400/demo_apps/hello_world/codewarrior
Select the desired build target from the drop-down menu. For this example, select hello_world – flash_sdm_lpm_debug
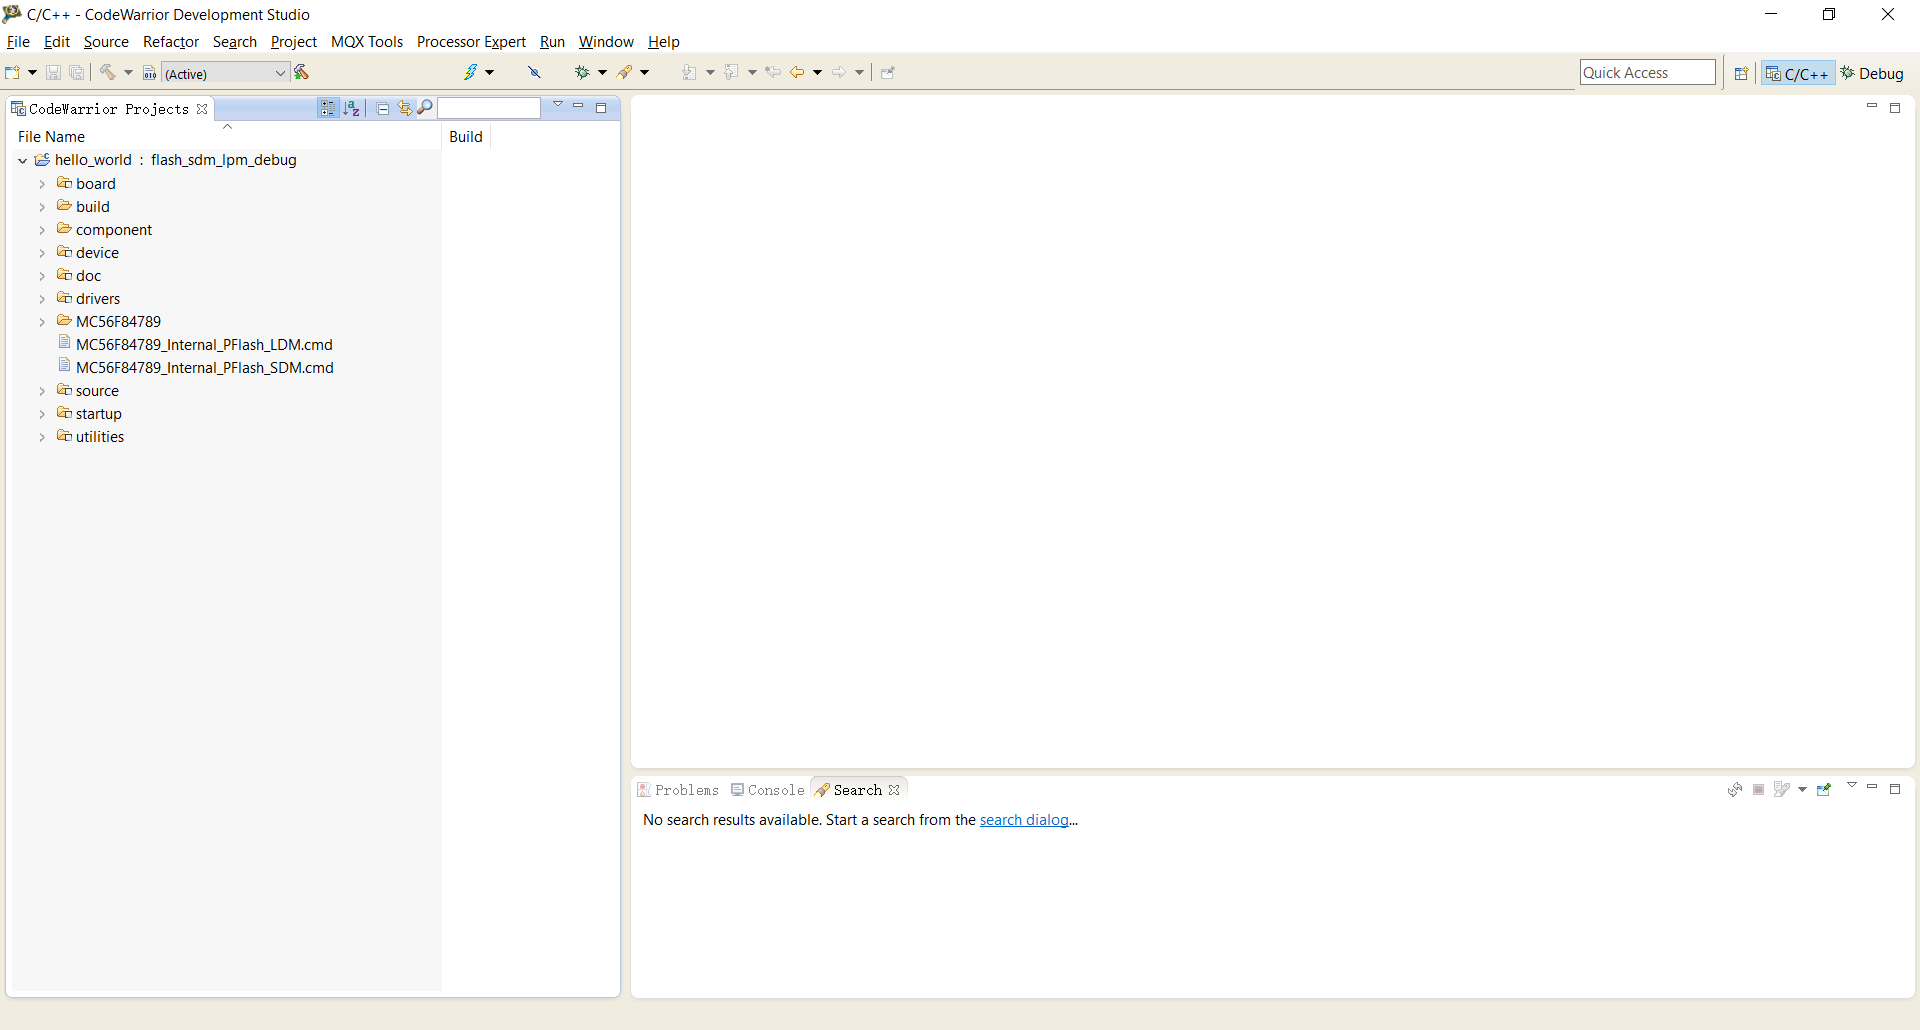
To build the demo application, click Build (All) in the Commander pane.
The build completes without errors.
Board debugger setup
Board debugger info:
Default debugger is OSJTAG.
Onboard debugger USB port is J8, which set the debugger and COM port.
Onboard debugger firmware update jumper is J6.
To download and run the application, perform the following steps:
Connect USB cable between the host PC and the debugger USB port.
Install the debugger driver and USB CDC driver as PC hint if it is the first time you run it on the PC. The debugger and USB CDC driver are provided by CodeWarrior by default.
The CodeWarrior may prompt to update the debugger firmware, which requires to connect the firmware update jumper on board and then follow the instruction by CodeWarrior to finish the firmware update.
Run an example application
To download and run the application, perform the following steps:
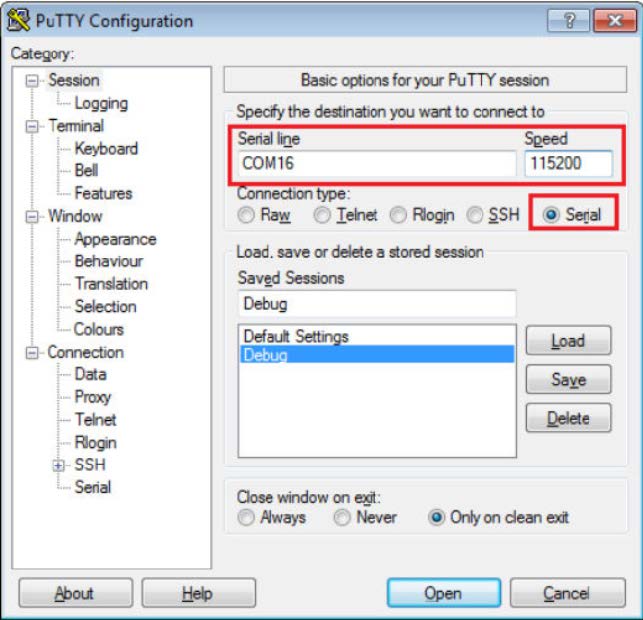
Open the terminal application on the PC, such as PuTTY or TeraTerm, and connect to the debug COM port (see How to determine COM port). Configure the terminal with these settings:
115200, defined by
BOARD_DEBUG_UART_BAUDRATEin the board.h fileNo parity
8 data bits
1 stop bit
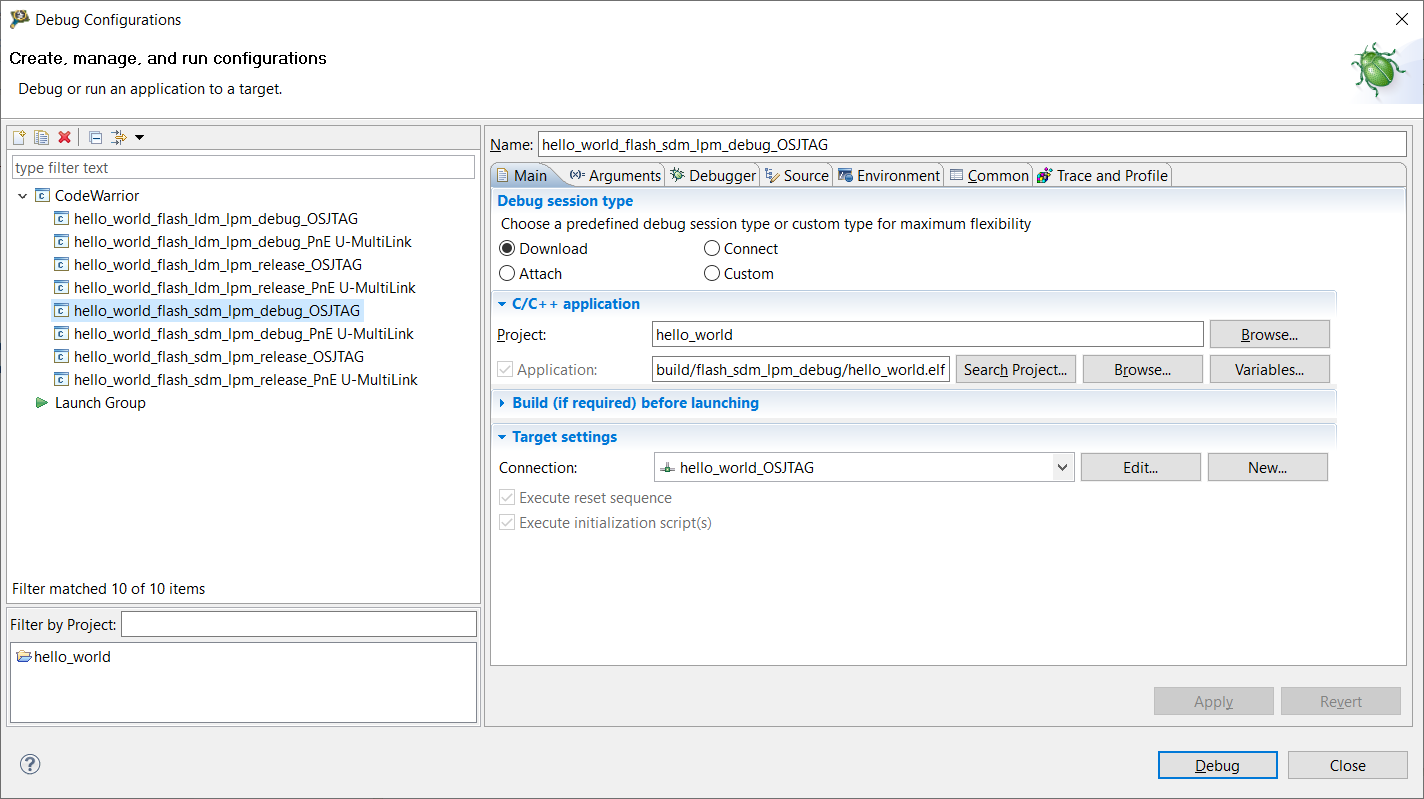
For this example(TWR-MC56F8400 hello_world), click Debug in the Commander pane, and select the
hello_world_flash_sdm_lpm_debug_OSJTAGlaunch configuration. Then the application is downloaded onto target board and automatically runs to themain()function.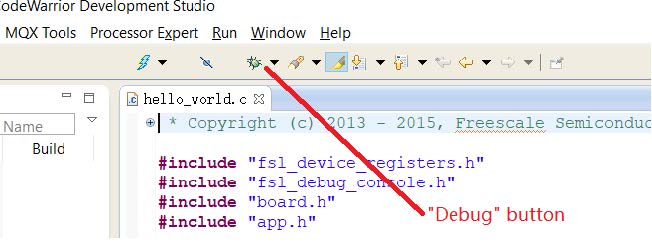
Note:
Generally there are four build configurations for DSC SDK examples:
flash_sdm_lpm_debug,flash_sdm_lpm_release,flash_ldm_lpm_debug, andflash_ldm_lpm_release.*_debug: uses optimization level 1*_release: uses optimization level 4sdm: small data memory modelldm: large data memory modellpm: large program memory model
Select corresponding launch configuration based on build target and debugger type.
Some examples may require specific hardware settings, check each demo
readmedocument, which includes detail instructions for HW and SW settings.
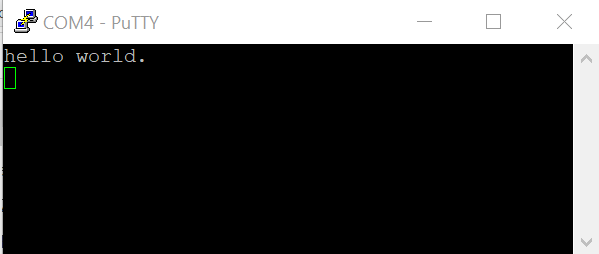
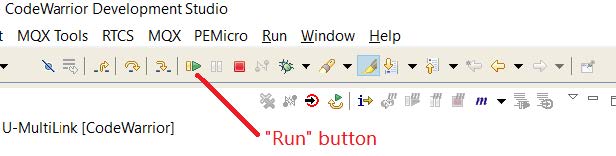
To run the code, click Run on the toolbar.
The
hello_worldapplication is now running and a banner is displayed on the terminal.