Run a demo application using IAR
This section describes the steps required to build, run, and debug example applications provided in the MCUXpresso SDK.
Note: IAR Embedded Workbench for Arm version 8.32.3 is used in the following example, and the IAR toolchain should correspond to the latest supported version, as described in the MCUXpresso SDK Release Notes.
Build an example application
Do the following steps to build the hello_world example application.
Open the desired demo application workspace. Most example application workspace files can be located using the following path:
<install_dir>/boards/<board_name>/<example_type>/<application_name>/iar
Other example applications may have additional folders in their path.
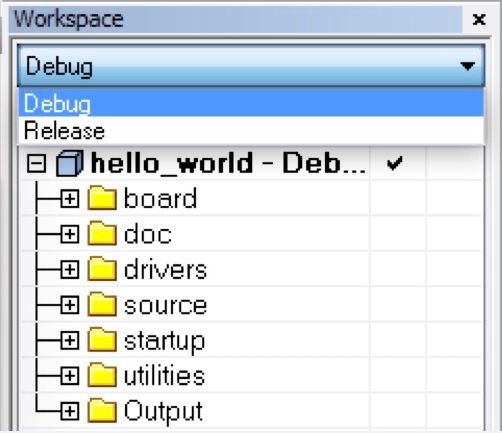
Select the desired build target from the drop-down menu.
For this example, select hello_world – debug.
|
|
To build the demo application, click Make, highlighted in red in Figure 2.
|

|
The build completes without errors.
Parent topic:Run a demo application using IAR
Run an example application
To download and run the application, perform these steps:
See the table in Default debug interfaces to determine the debug interface that comes loaded on your specific hardware platform.
The user should install LPCScrypt or MCUXpresso IDE to ensure that LPC board drivers are installed .
For boards with P&E Micro interfaces, visit www.pemicro.com/support/downloads_find.cfm and download the P&E Micro Hardware Interface Drivers package.
Connect the development platform to your PC via USB cable.
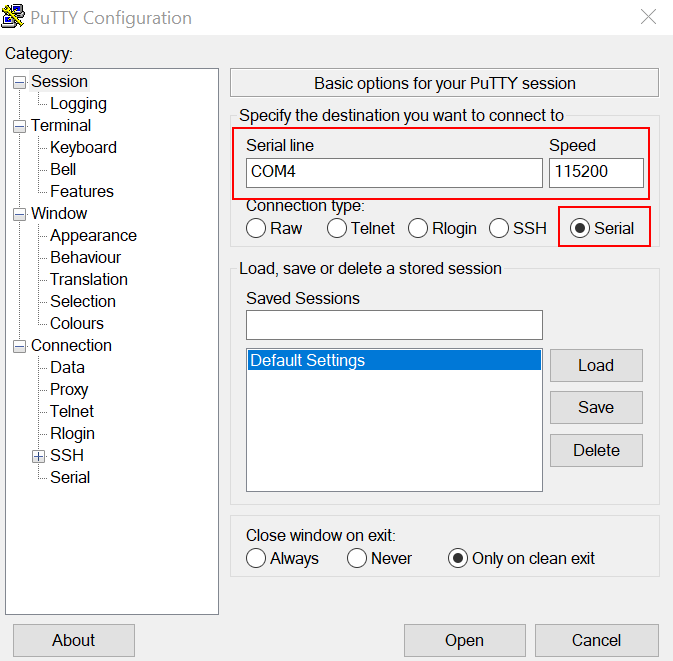
Open the terminal application on the PC, such as PuTTY or TeraTerm, and connect to the debug COM port (to determine the COM port number, see How to determine COM port). Configure the terminal with these settings:
115200 or 9600 baud rate, depending on your board (reference
BOARD_DEBUG_UART_BAUDRATEvariable in theboard.hfile)No parity
8 data bits
1 stop bit |
|
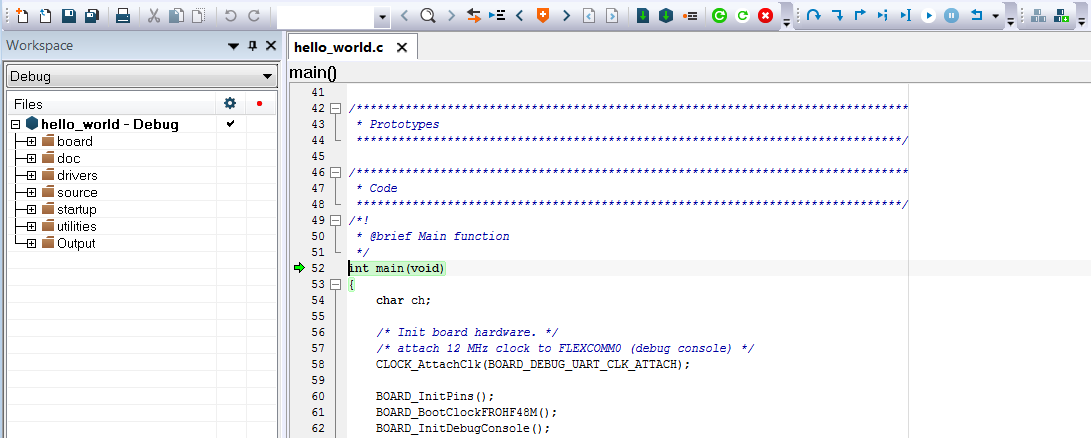
In IAR, click the Download and Debug button to download the application to the target.
|

|
The application is then downloaded to the target and automatically runs to the
main()function.|
|
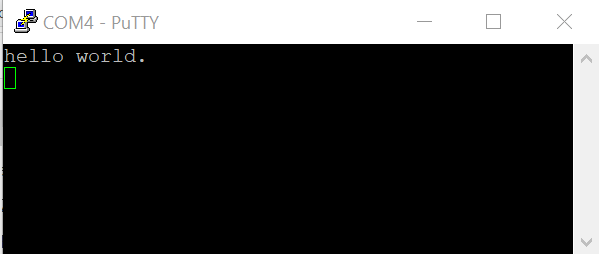
Run the code by clicking the Go button.
|

|
The
hello_worldapplication is now running and a banner is displayed on the terminal. If it does not appear, check your terminal settings and connections.|
|
Parent topic:Run a demo application using IAR
Build a multicore example application
This section describes the steps to build and run a dual-core application. The demo applications workspace files are located in this folder:
*<install\_dir\>/boards/<board\_name\>/multicore\_examples/<application\_name\>/<core\_type\>/iar*
Begin with a simple dual-core version of the Hello World application. The multicore Hello World IAR workspaces are located in this folder:
*<install\_dir\>/boards/lpcxpresso54114/multicore\_examples/hello\_world/cm0plus/iar/hello\_world\_cm0plus.eww*
*<install\_dir\>/boards/lpcxpresso54114/multicore\_examples/hello\_world/cm4/iar/hello\_world\_cm4.eww*
Build both applications separately by clicking the Make button. Build the application for the auxiliary core (cm0plus) first, because the primary core application project (cm4) must know the auxiliary core application binary when running the linker. It is not possible to finish the primary core linker when the auxiliary core application binary is not ready.
Parent topic:Run a demo application using IAR
Run a multicore example application
The primary core debugger handles flashing both primary and the auxiliary core applications into the SoC flash memory. To download and run the multicore application, switch to the primary core application project and perform steps 1 – 4 as described in Run an example application. These steps are common for both single core and dual-core applications in IAR.
After clicking the “Download and Debug” button, the auxiliary core project is opened in the separate EWARM instance. Both the primary and auxiliary images are loaded into the device flash memory and the primary core application is executed. It stops at the default C language entry point in the *main()*function.
Run both cores by clicking the “Start all cores” button to start the multicore application.
|
|
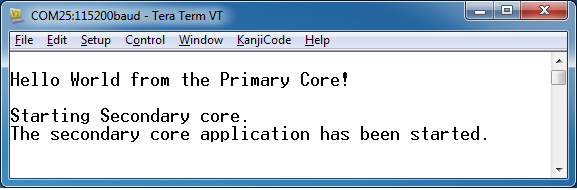
During the primary core code execution, the auxiliary core is released from the reset. The hello_world multicore application is now running and a banner is displayed on the terminal. If this does not appear, check the terminal settings and connections.
|
|
An LED controlled by the auxiliary core starts flashing, indicating that the auxiliary core has been released from the reset and is running correctly. When both cores are running, use the “Stop all cores”, and “Start all cores” control buttons to stop or run both cores simultaneously.
|
|
Parent topic:Run a demo application using IAR