Run a demo using Keil® MDK/μVision
This section describes the steps required to build, run, and debug example applications provided in the MCUXpresso SDK. The hello_world demo application targeted for the LPCXpresso51U68 hardware platform is used as an example, although these steps can be applied to any demo or example application in the MCUXpresso SDK.
Install CMSIS device pack
After the MDK tools are installed, Cortex® Microcontroller Software Interface Standard (CMSIS) device packs must be installed to fully support the device from a debug perspective. These packs include things such as memory map information, register definitions, and flash programming algorithms. Follow these steps to install the appropriate CMSIS pack.
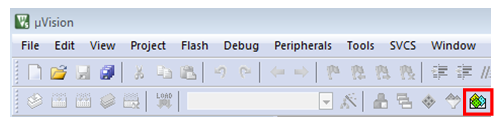
Open the MDK IDE, which is called μVision. In the IDE, select the Pack Installer icon.
After the installation finishes, close the Pack Installer window and return to the μVision IDE.
Parent topic:Run a demo using Keil® MDK/μVision
Build an example application
Open the desired example application workspace in:
<install_dir>/boards/<board_name>/*<example\_type\>*/<application_name>/mdk
The workspace file is named as
<demo_name>.uvmpw. For this specific example, the actual path is:<install_dir>/boards/lpcxpresso51U68/demo_apps/hello_world/mdk/hello_world.uvmpw
To build the demo project, select Rebuild, highlighted in red.

The build completes without errors.
Parent topic:Run a demo using Keil® MDK/μVision
Run an example application
To download and run the application, perform these steps:
Download and install LPCScrypt or the Windows® operating systems driver for LPCXpresso boards from www.nxp.com/lpcutilities. This installs the required drivers for the board.
Connect the development platform to your PC via USB cable between the Link2 USB connector and the PC USB connector. If you are connecting for the first time, allow about 30 seconds for the devices to enumerate.
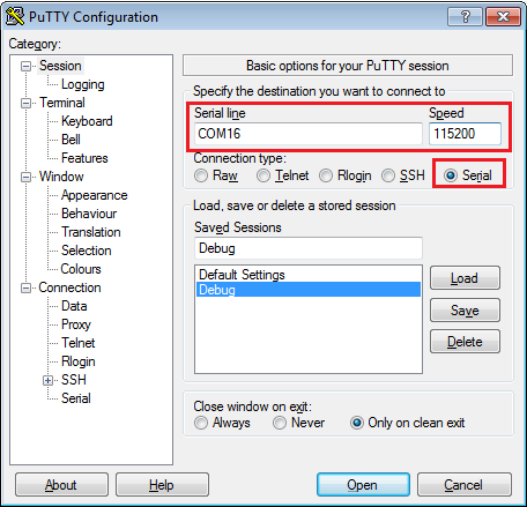
Open the terminal application on the PC, such as PuTTY or TeraTerm, and connect to the debug serial port number (to determine the COM port number, see Appendix A). Configure the terminal with these settings:
115200 baud rate (reference BOARD_DEBUG_UART_BAUDRATE variable in board.h file)
No parity
8 data bits
1 stop bit
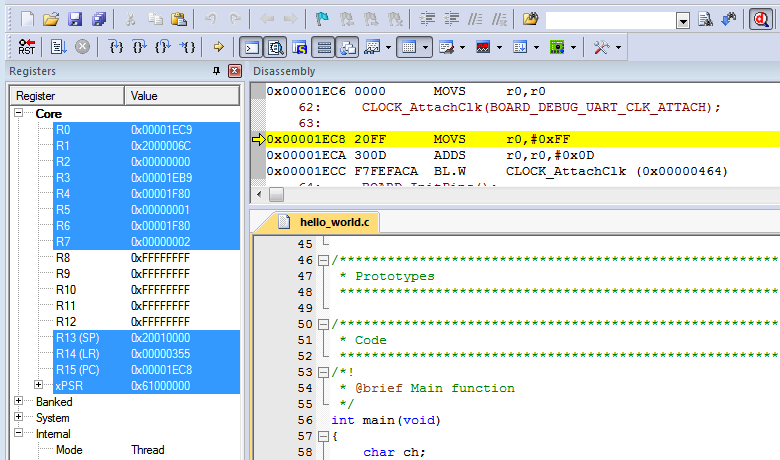
To debug the application, click the “Start/Stop Debug Session” button, highlighted in red.
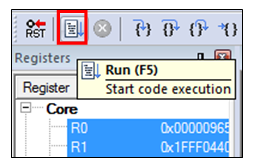
Run the code by clicking the “Run” button to start the application.
The hello_world application is now running and a banner is displayed on the terminal. If this is not true, check your terminal settings and connections.

Parent topic:Run a demo using Keil® MDK/μVision