
Run a demo using MCUXpresso IDE#
Note:
Most MCUXpresso projects provide two targets (debug and release), which are flash targets. To debug and run the examples, set SW1[1:4] to 0010 as internal flash boot mode.
This section describes the steps required to configure MCUXpresso IDE to build, run, and debug example applications. The hello_world demo application targeted for the FRDM-IMXRT1152 hardware platform is used as an example, though these steps can be applied to any example application in the MCUXpresso SDK.
Select the workspace location#
Every time MCUXpresso IDE launches, it prompts the user to select a workspace location. MCUXpresso IDE is built on top of Eclipse which uses workspace to store information about its current configuration, and in some use cases, source files for the projects are in the workspace. The location of the workspace can be anywhere, but it is recommended that the workspace be located outside of the MCUXpresso SDK tree.
Parent topic:Run a demo using MCUXpresso IDE
Build an example application#
To build an example application, follow these steps.
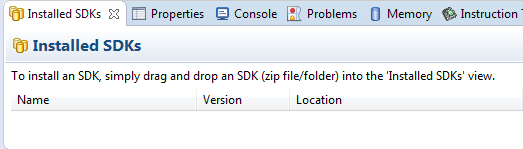
Drag and drop the SDK zip file into the Installed SDKs view to install an SDK. In the window that appears, click OK and wait until the import has finished.
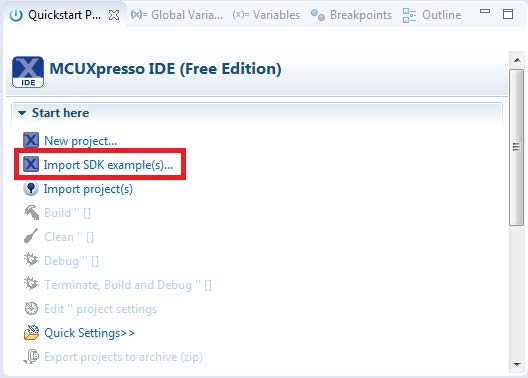
On the Quickstart Panel, click Import SDK example(s)….
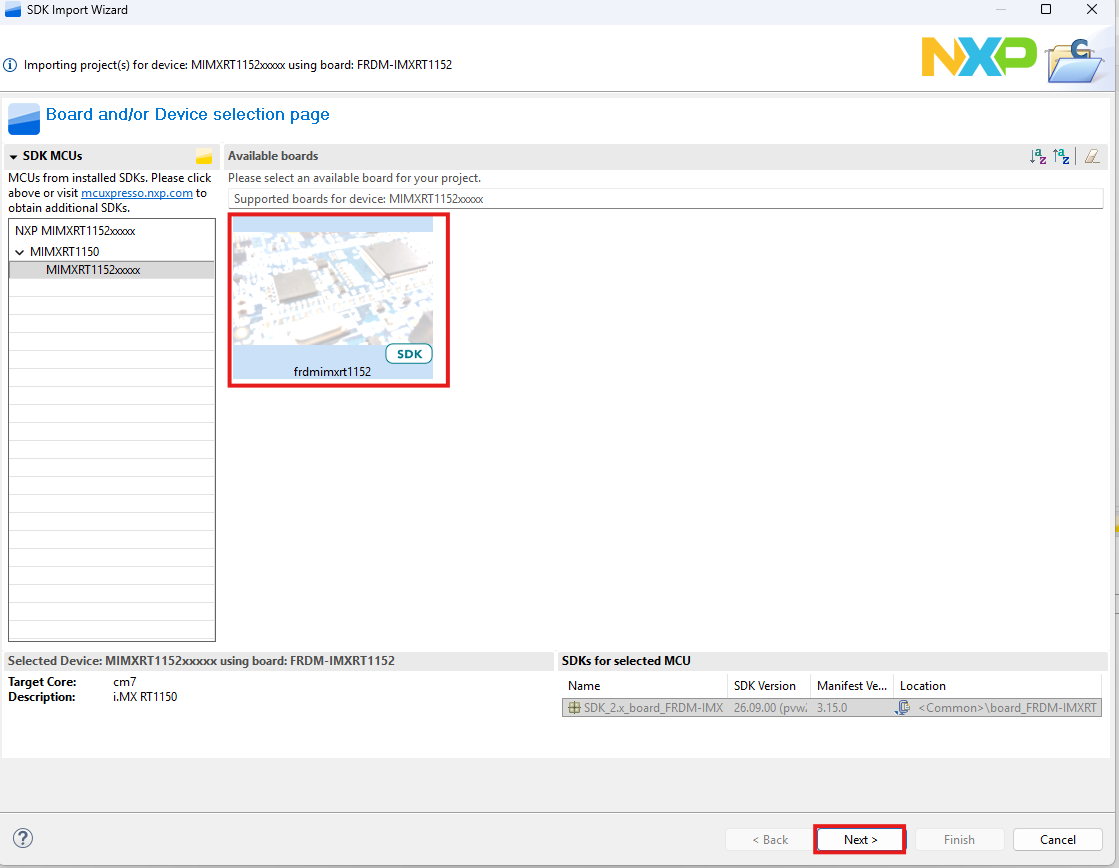
In the window that appears, select MIMXRT1152xxxxx. Then, select frdmimxrt1152 and click Next.
Expand the demo_apps folder and select
hello_world. Then, click Next.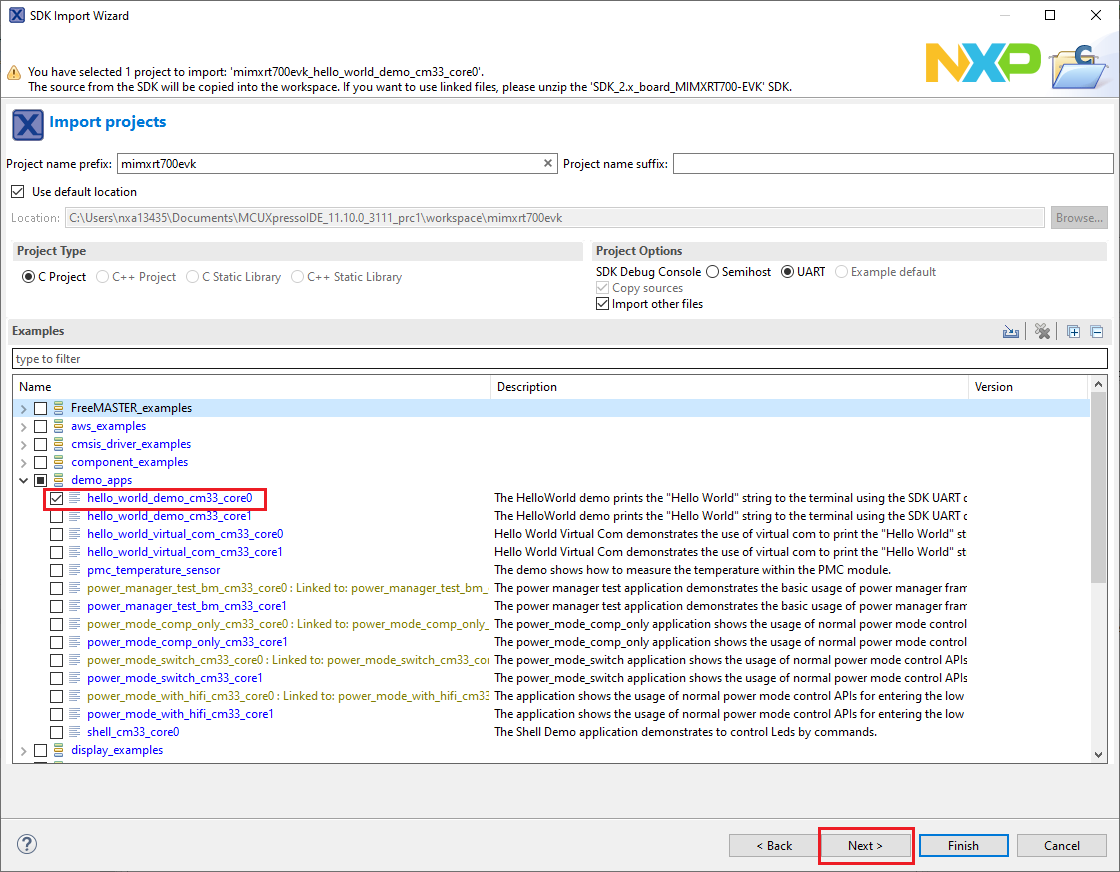
Ensure Redlib: Use floating point version of printf is selected if the example prints floating point numbers on the terminal for demo applications such as
adc_basic,adc_burst,adc_dma, andadc_interrupt. Otherwise, it is not necessary to select this option. Then, click Finish.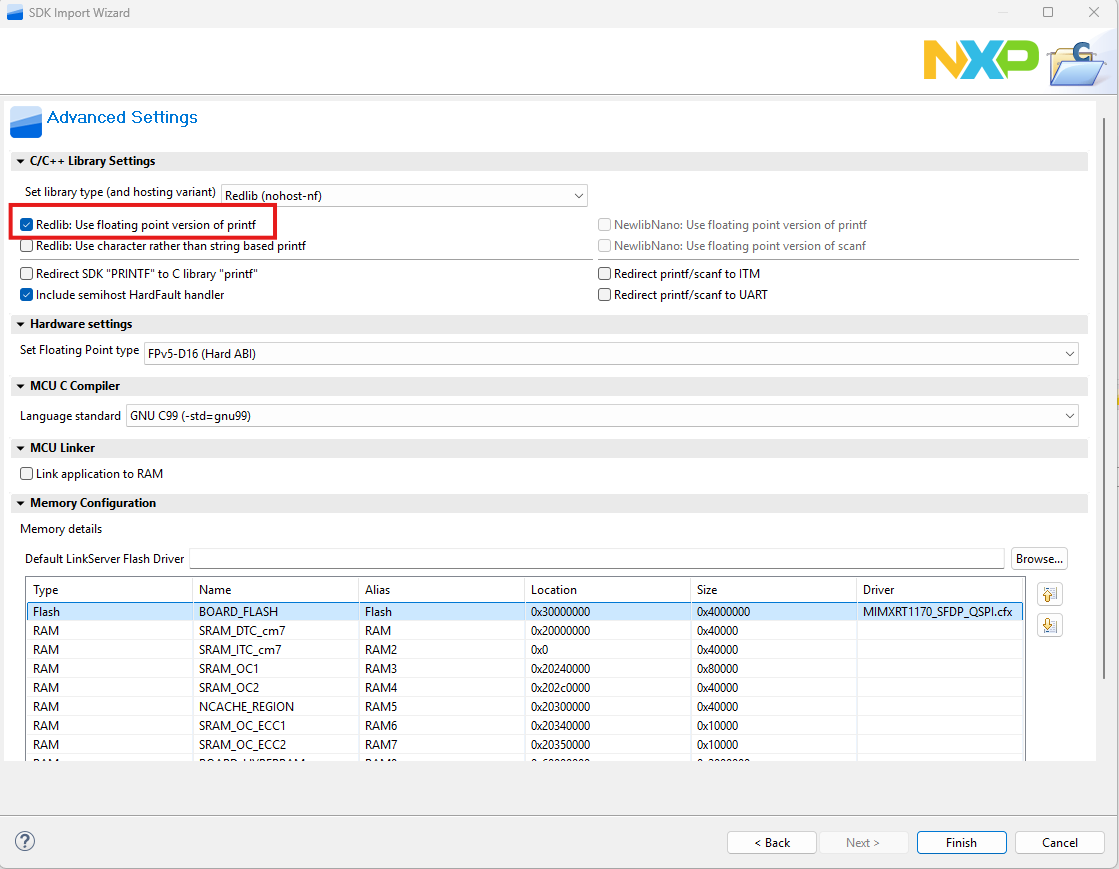
Parent topic:Run a demo using MCUXpresso IDE
Run an example application#
To download and run the application, perform the following steps:
See Table 1 to determine the debug interface that comes loaded on your specific hardware platform.
If using J-Link with either a standalone debug pod or OpenSDA, install the J-Link software (drivers and utilities) from SEGGER.
Connect the development platform to your PC via a USB cable.
Connect USB cable between J13 on board and PC USB port.
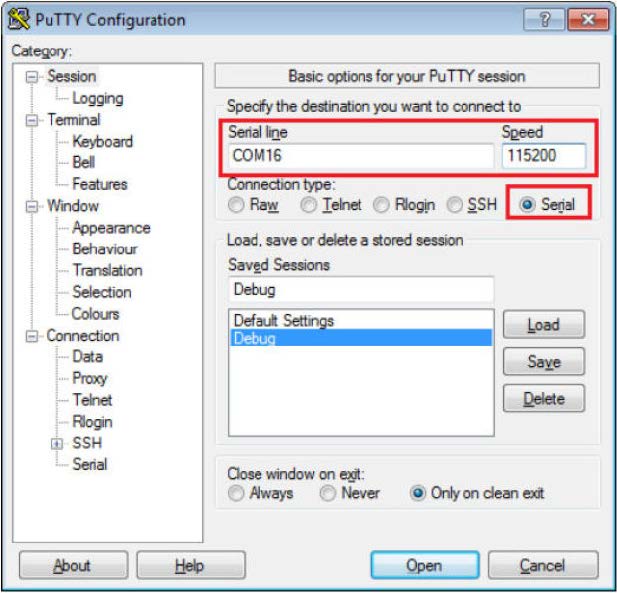
Open the terminal application on the PC, such as PuTTY or TeraTerm, and connect to the debug serial port number. To determine the COM port number, see How to determine COM port. Configure the terminal with these settings:
115200 baud rate or 9600 baud rate, depending on your board (reference
BOARD_DEBUG_UART_BAUDRATEvariable in the board.h file)No parity
8 data bits
1 stop bit
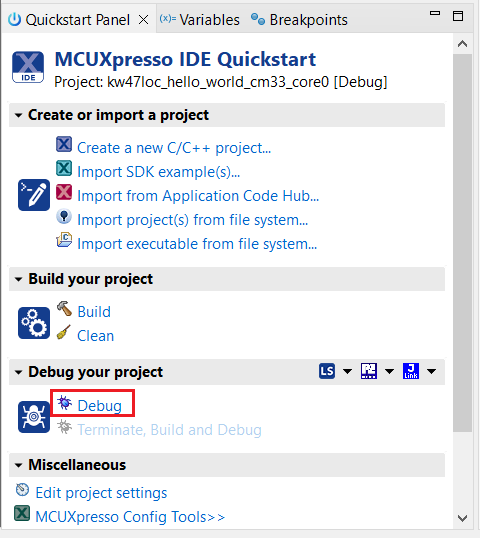
On the Quickstart Panel, click Debug ‘frdmimxrt1152_demo_apps_hello_world’ [Debug].
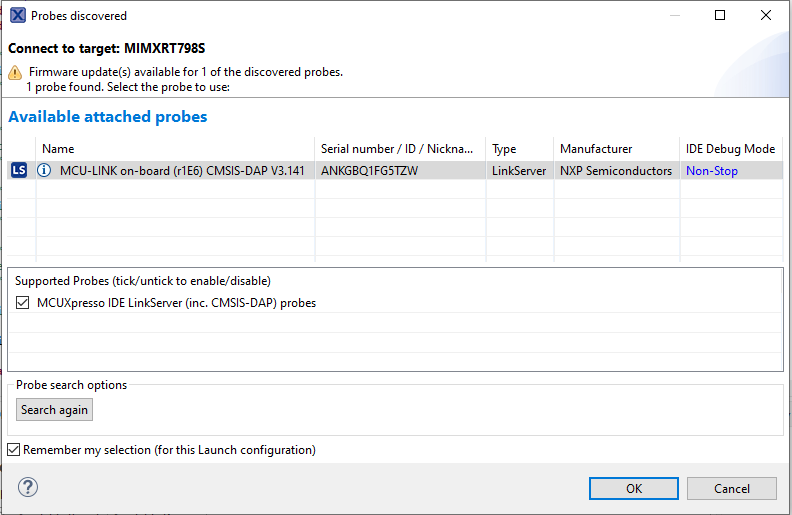
The first time you debug a project, the Debug Emulator Selection dialog is displayed, showing all supported probes that are attached to your computer. Select the probe through which you want to debug and click OK. (For any future debug sessions, the stored probe selection is automatically used, unless the probe cannot be found.)
The application is downloaded to the target and automatically runs to
main().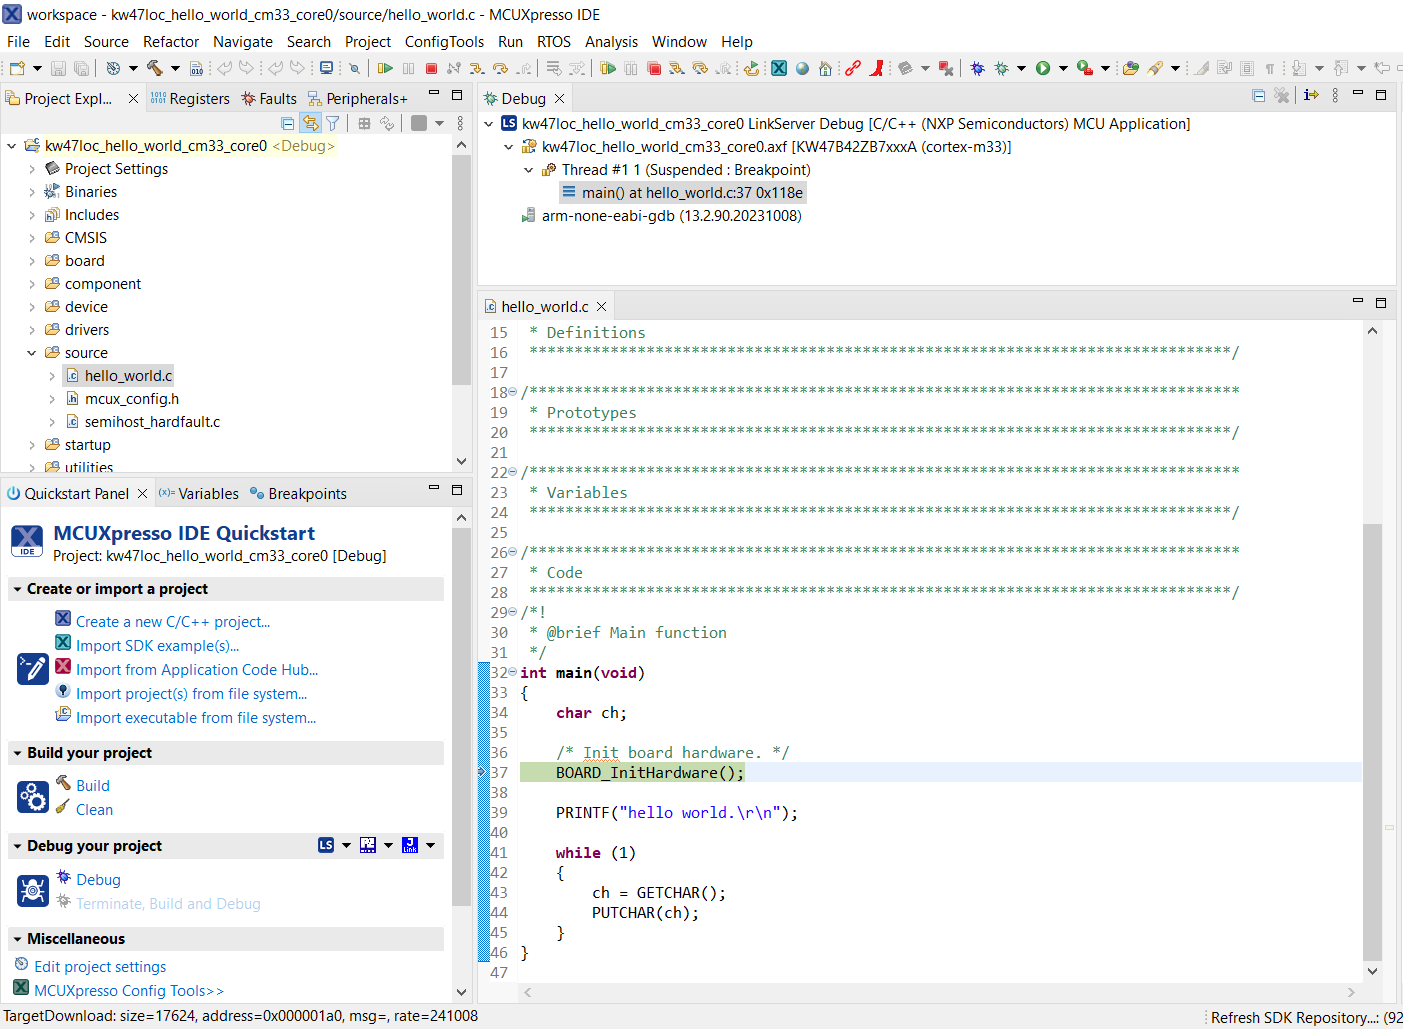
Start the application by clicking Resume.
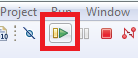
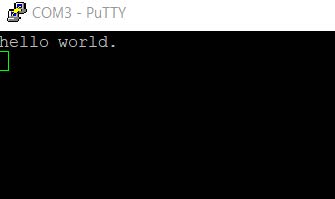
The hello_world application is now running and a banner is displayed on the terminal. If not , check your terminal settings and connections.
Parent topic:Run a demo using MCUXpresso IDE