
Build an example application#
To build an example application, follow these steps.
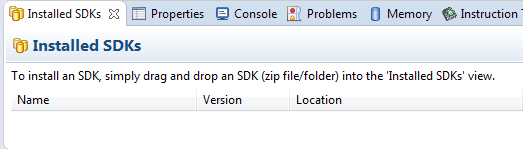
Drag and drop the SDK zip file into the Installed SDKs view to install the MCUXpresso SDK. In the window that appears, click OK and wait until the import has finished.
On the Quickstart Panel, click Import SDK example(s)…, as shwon in Figure 2.

In the window that appears, expand the MIMXRT1015 folder and select MIMXRT1015xxxxx. Then, select evkmimxrt1015 and click Next, as shown in Figure 3.

Expand the
demo_appsfolder, selecthello_world, and then click Next, as shown in Figure 4.

Ensure the option Redlib: Use floating point version of printf is selected if the cases print floating point numbers on the terminal (for demo applications such as
dac32_adc12,dac_adc,dac_cadc,ecompass,sai,coremark,mbedtls_benchmark,wolfssl_benchmark, and formmcau_examplessuch asmmcau_api). Otherwise, there is no need to select it. Click Finish.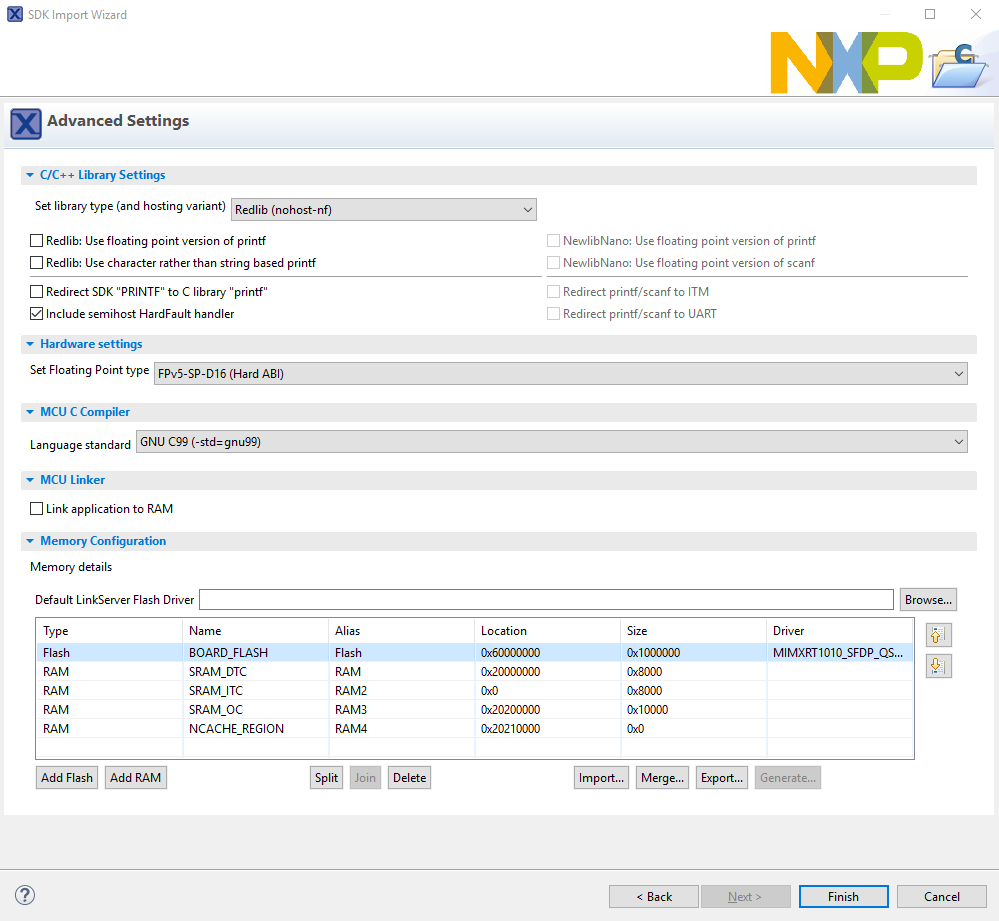
Note: If you want to use semihost to print log, first select the Semihost button when importing projects, as shown in Figure 6.


On the Quickstart panel, click build
evkmimxrt1015\_demo\_apps\_hello\_world \[Debug\], as shown in Figure 8.

Parent topic:Run a demo using MCUXpresso IDE